

I am amazed it’s been nearly a year since my last post!
It’s not that I haven’t been sewing during this time, I have. For example, there were a couple of months earlier this year when, after watching Sarah’s Veblen’s pants fitting class, I pulled out all my pants patterns and re-traced them in order to create new muslins. (Not a bad idea to do every few years anyway). Per Ms. Veblen’s suggestion, I included horizontal balance lines to help me better fine-tune where my personal length adjustments needed to be in the area between my waist and full hip. These latest pants muslin efforts yielded some unanticipated surprises and useful fitting information when all was said and done. Perhaps I’ll create a future post on this topic at a later time.
On to my most recent project, a reversible quilt.
My original inspiration came from this colorful fabric print I saw on Etsy several months ago:

I also found some coordinating prints from this fabric designer in the same Etsy shop. I then began searching for quilt patterns and found Nicole Moore’s “Turntables” pattern. Her modern take on circles and color gradations seemed just right. Check out Nicole’s blog about her wonderful pattern design:
https://www.sewmuchmoore.com/turntables-quilt-pattern/
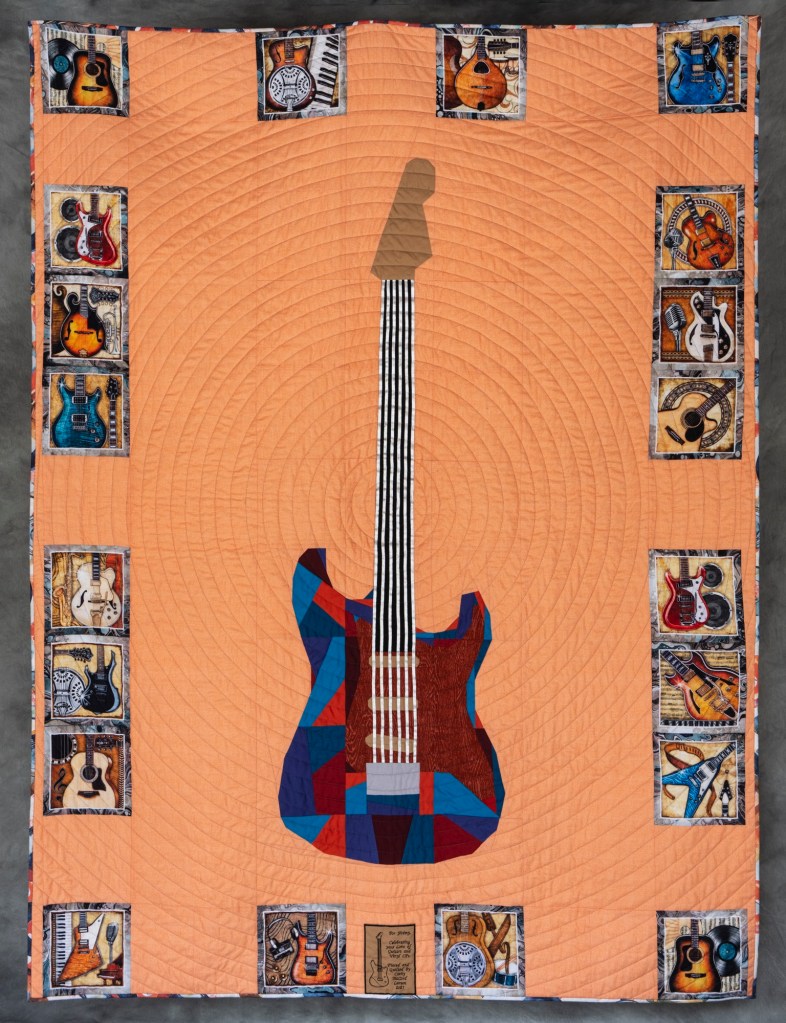
I hadn’t originally planned on making a reversible quilt but during my pattern search I also found this gem from On Williams Street:
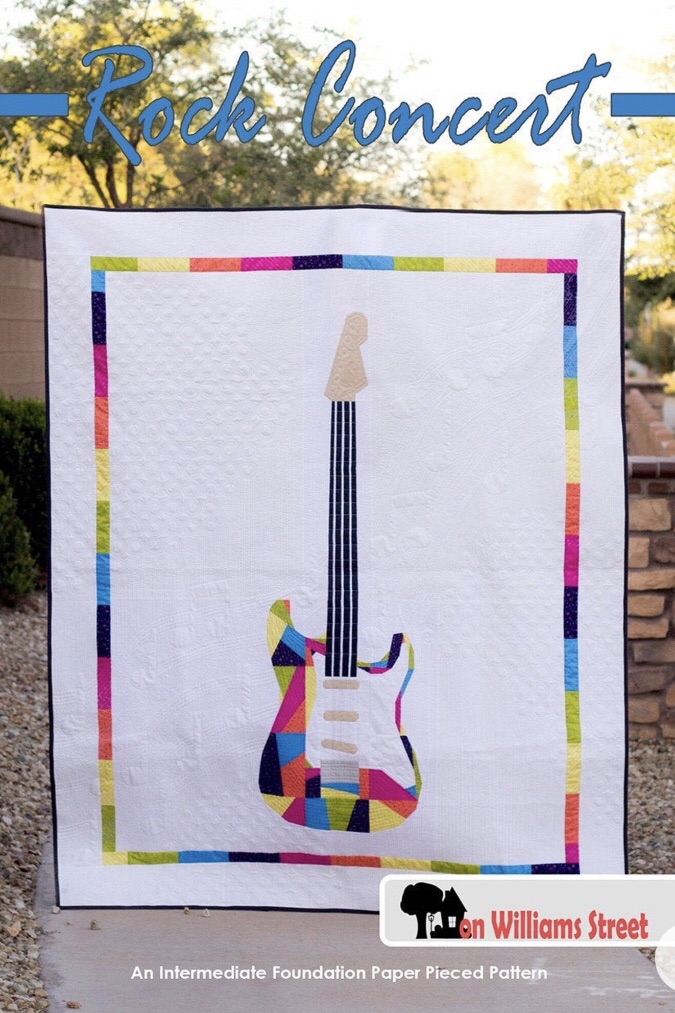
Our daughter’s boyfriend also loves guitars. Not only does he play, he also has several instruments in his collection. The “Rock Concert” pattern above further prompted the wheels turning in my creative sphere causing me to ponder, could there be two contrasting yet coordinating sides to this project? Why not?
A couple of days later, I happened upon this cool guitar border print, also on Etsy. More bright colors! Seemed like a win for this project.

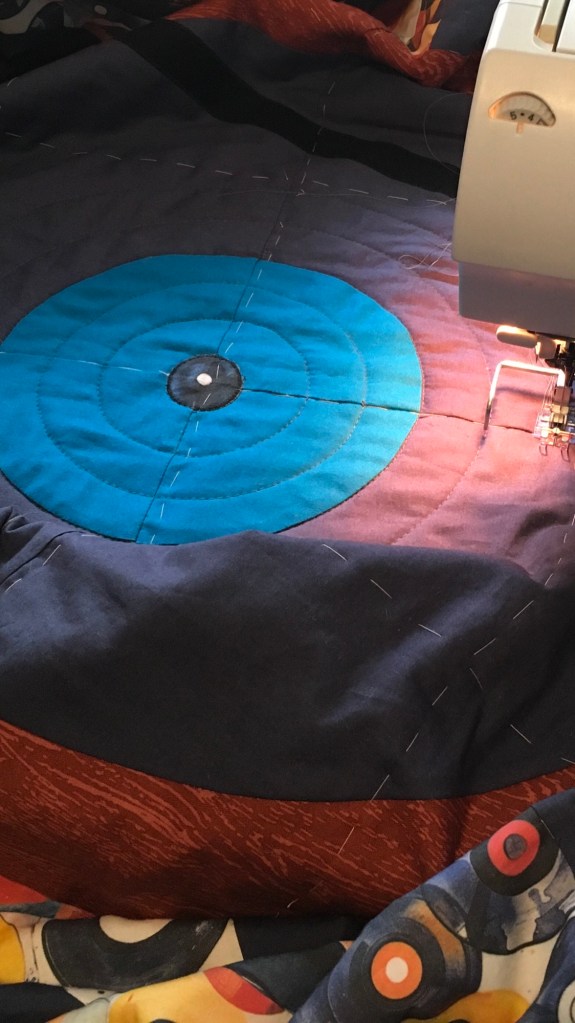
For the turntable side, I added a large section to the middle which includes a tone arm detailing the brand of stylus our daughter’s boyfriend has on his turntable. I used my embroidery machine to stitch on the logo for that.

Once I played around with arranging the coordinating prints, the piecing of this side went amazingly quickly.
For the guitar side, I found a method of “paper piecing” on YouTube that retains the paper pattern but utilizes a line-scoring, fold and press method instead of sewing on paper (then later tearing away of same). This revised method seemed much less labor-intensive for me so I went in that direction, plus I can re-use the pattern later if desired.
A change I made to the original “Rock Concert” pattern was to stitch 1/4” metallic trim along the guitar neck to create the string detail.
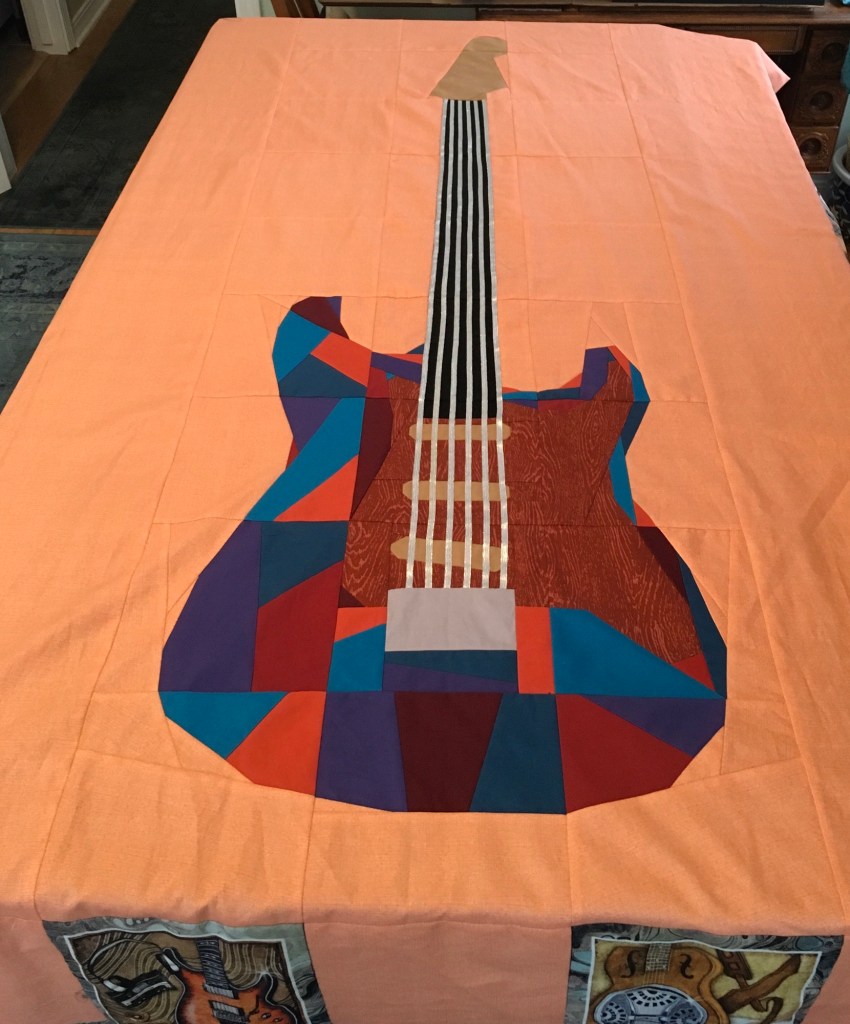
The lengths and widths of each pattern varied slightly so I ended up adding top and bottom sashing to the turntable side and side sashing to the guitar side.
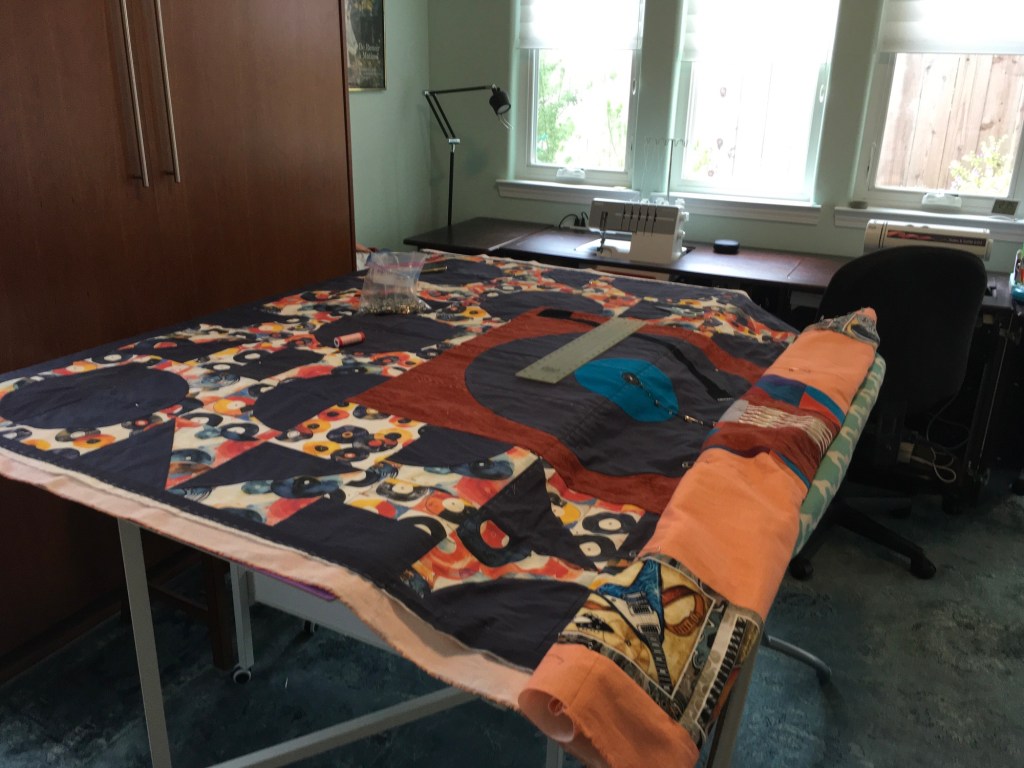
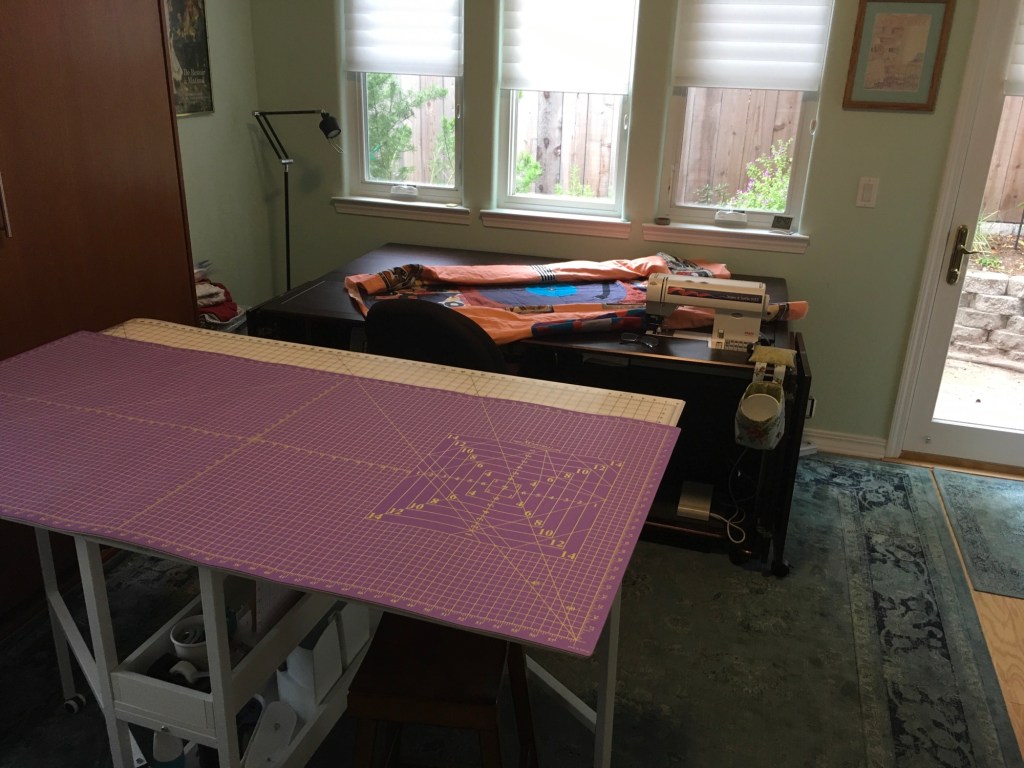
Deciding on a coordinating thread color gave me some pause but I finally landed on charcoal gray shade which worked well. For the actual quilting process, I started in the center, then machine-quilted in circles, using my spacing bar attachment, echoing out approximately one inch from the previous circle and alternating from clockwise to counter-clockwise in direction. The IDT feature (think walking foot) on my trusty Pfaff 6152 workhorse sewing machine proved very effective in keeping the three layers feeding evenly throughout.
Finally, choosing a coordinating fabric for the binding that would work well for both sides also gave me pause. The fact that I only had enough of the Manchester LP print to make the binding made the fabric choice decision for me. It ended up being the perfect solution.

Conceptualizing and creating this particular project gave me much joy.
Next up? Perhaps some cozy cool weather pieces to add to my wardrobe. Until the next time…
