After several weeks of holiday activities, making gifts, cooking detailed recipes and hosting house guests, I haven’t found time to blog in a while. It is now February and low and behold, 2018 has come and gone. While this past year held some inevitable challenges, there have also been noteworthy triumphs to report. These are what I choose to write about today.
First, I’m happy to report that I made it all the way through 2018 without buying any “ready-to-wear” clothing. (this is in reference to my previously-mentioned, self-proclaimed RTW fast (inspired by Sara Gunn of goodbyevalentino.com fame). Now I find myself already into my second month of my second year without buying any RTW. What has this particular challenge taught me? A number of things as it turns out.
But first, I’ll begin by reviewing what was already in my closet at the beginning of 2018.
It’s been over two years since moving to the Central Coast region of California from the wonderful, sometimes bracingly brisk, state of Minnesota where I lived for 22 years. While I successfully donated and consigned a significant amount of my clothing and fabric stash prior to packing up everything into the moving van headed West, I’ve continued the process of wardrobe reevaluation and subsequent donation ever since, systematically redefining what I really need and what I don’t with each passing month. For example, the majority of my professional activity in the years prior to our cross-country move was defined by my University teaching position in MN.
My professional wardrobe for a typical academic year included a variety of jackets, dress pants, skirts and dresses (not to mention lots of coats!). Where I live now, I dress MUCH more casually. Aside from my month away in the summer, teaching at a music academy in the Midwest, the majority of the private voice lessons I teach now happen in my home studio or online, via Skype or FaceTime. My goal in these circumstances is to continue to dress professionally but not too formally. (Artsy tops and tunics with dressier, stretch-woven jeans or slacks)
Years ago I had my colors done and was told I was a “Winter” at that point. I still have many pieces of clothing in my closet within that particular color palette, especially blacks and whites. However, a close friend recently shared the “Dress Your Truth” (liveyourtruth.com) color palette model with me which, among other things, takes into account, specific factors such as personality traits, facial features, skin tone and hair texture.
I was curious about this concept and started exploring the “DYT” philosophy of color and style in the past year. It appears I’m most probably a “Type 2” primary with a “Type 1” secondary. The DYT color and pattern model translates for me personally into more muted shades, fluid lines and s-curve patterns, inspiring some changes in the colors I’m regularly wearing (and sewing) while reinforcing, if sometimes previously-suppressed, inclinations toward color and expression of my personal style. I’ve started experimenting with adding new colors to my wardrobe, the most significant being mauves and coral pink. I began to suspect I was on the right track with my color experimentation when people began commenting on how flattering a piece of clothing looked on me, especially when I started wearing one of these newer (to me) colors. Another interesting thing to come out of all of the above is the realization that some of the fabrics I’ve chosen to wear from the “Winter” color palette in the past have been “wearing” me instead of me wearing them.
With the addition of developing my machine embroidery chops and viewing current fashion catalogs, it’s safe to say my sewing creativity has been stimulated a great deal in the past year.
Finally, things I’ve gleaned from engaging in a year-long+ RTW fast:
While I haven’t spent any money buying RTW clothing in 2018 (save a few pair of shoes and a couple pieces of accent jewelry), I have definitely purchased a LOT more fabric this past year. To be fair, this most recent textile investment trend was strongly influenced by visiting iconic fabric shops while on recent trips to New York and San Francisco. This said, one never needs to leave home these days to find extraordinary fabric-buying options, especially with access to fantastic online resources such as MarcyTilton, SilhouettePatterns, Emmaonesock, Etsy, EBay, Mood, Fabric.com, VogueFabrics and so many more. Our daughter’s reaction to the above activity prompted the following recommendation: “Maybe you should embark on a fabric fast this year Mom”. Interesting suggestion….
I’ve discovered that I’ve become even pickier than ever before regarding how my clothes fit now. All alteration skills aside, in the time I have designated to exclusively making my own clothes, I find I no longer have any excuses regarding wearing poorly-fitting garments moving forward.
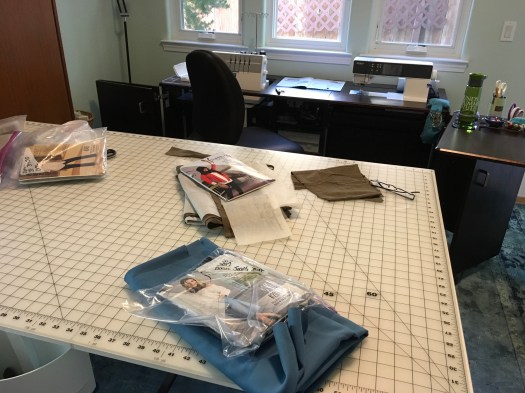
Will I continue with the RTW fast in 2019? Maybe so, for a time. We’ll see…I currently have some fantastic material to sew with, more pattern muslins to experiment with and these will keep me venturing forth to my designated sewing space almost every day.
A stitch in time……

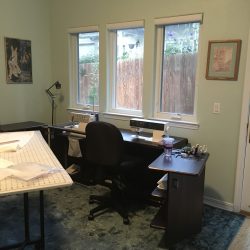
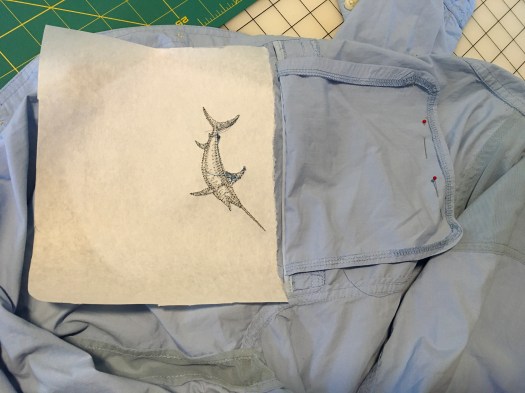

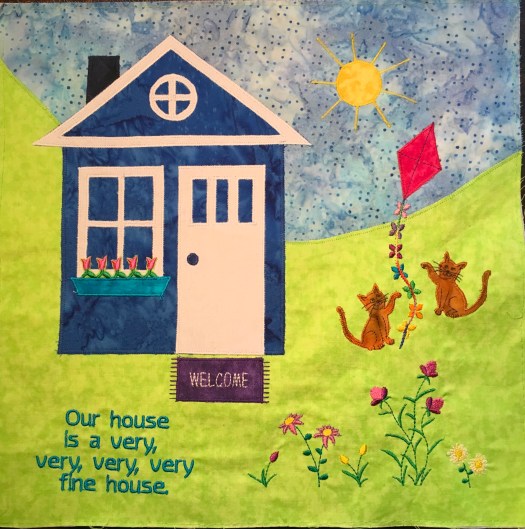
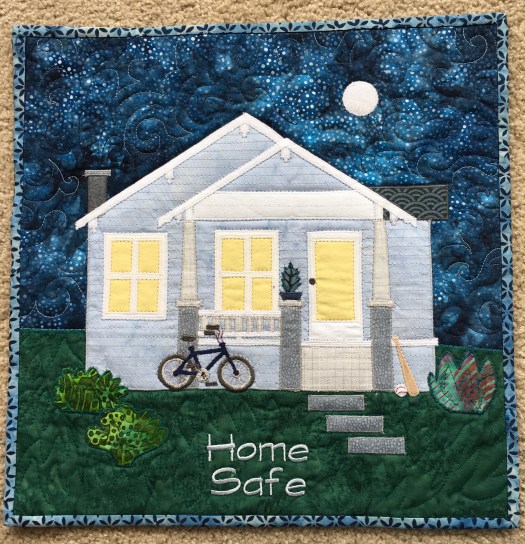
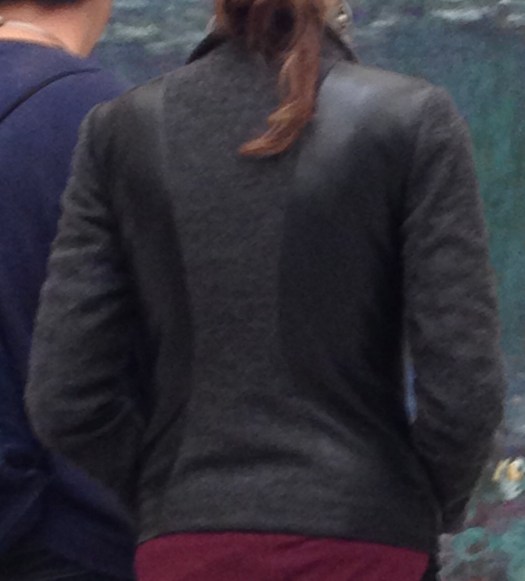

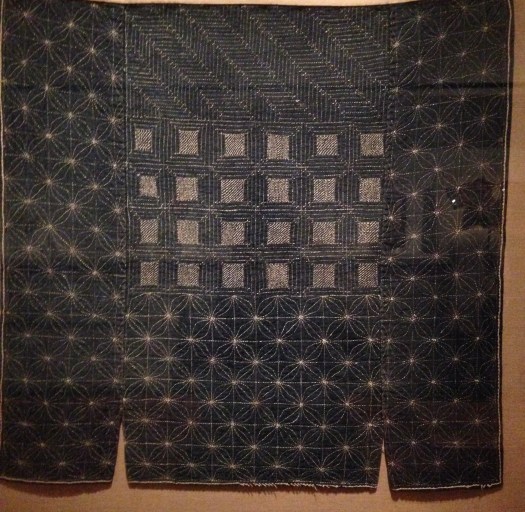
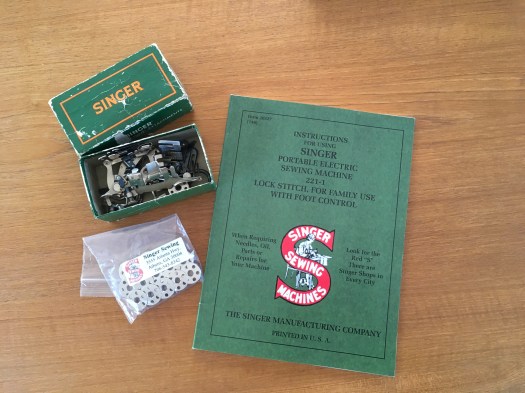
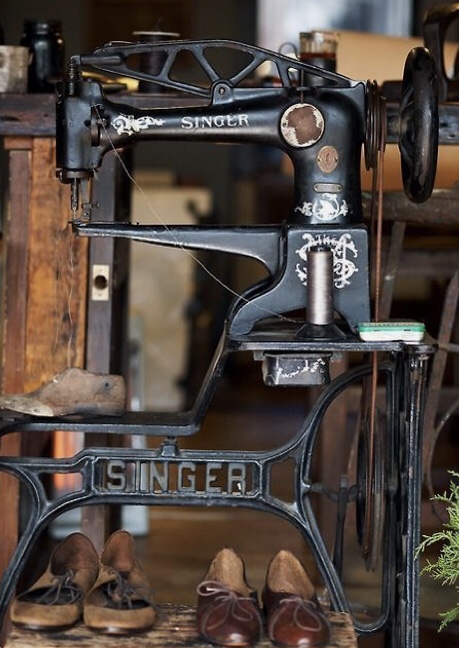 Photo credit: New York Sewing Center
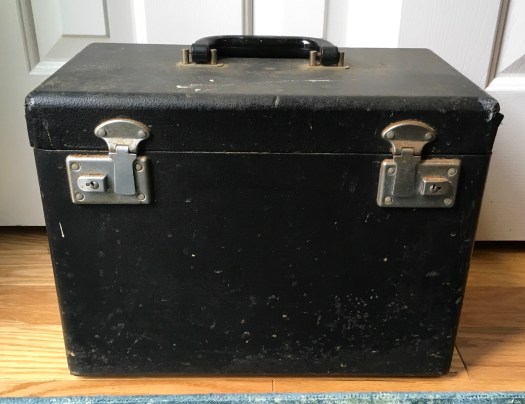
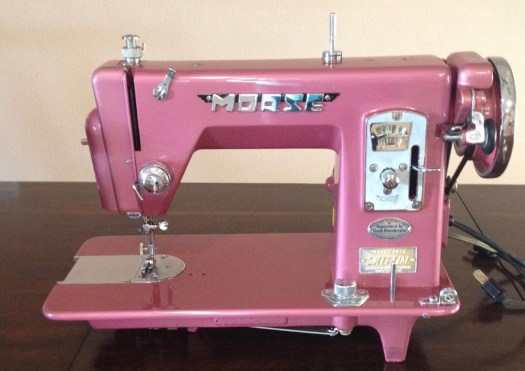 Photo credit: Stephanie Moore
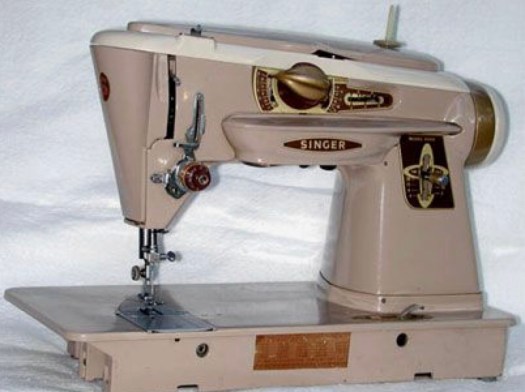 Photo credit: Possumjimandelizabeth.com
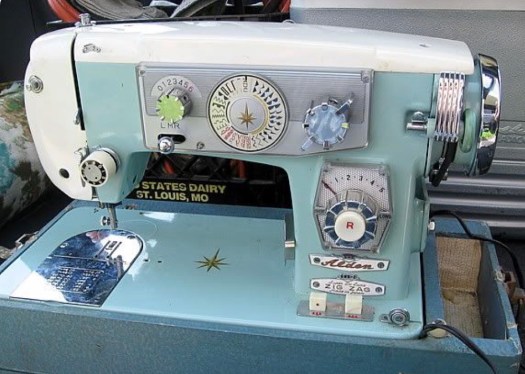 Photo credit: quiltingboard.com
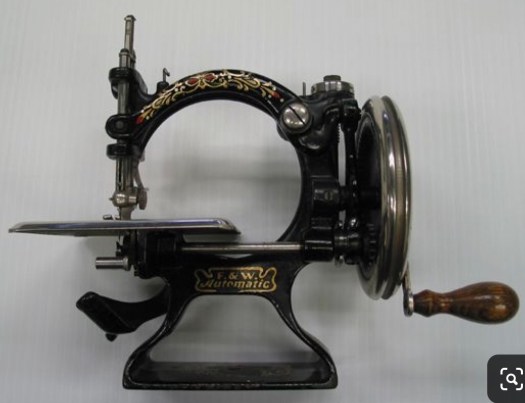


 My next step was to draw my chalk grain lines and cross hair markings, lay out my design and plan out my placement on the jean leg.
 Thread choice was a bit tricky since this was a spontaneous effort. I decided to “audition” some poly thread spools I had on hand.
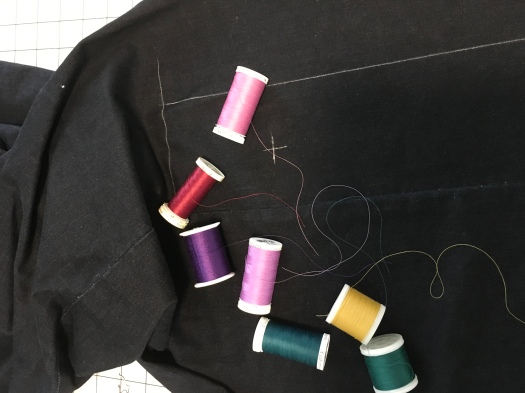


 I was watching Peggy Sagers’ most recent webcast earlier in the week and realized from something she said, that lately I’ve been somewhat in a state of paralysis when it comes to deciding what I want to tackle next in my sewing room.