While waiting near the cutting table at one of my favorite fabric shops in the garment district of Manhattan a few years ago, one of the employees and I struck up a conversion while he was cutting the specified yardage from a bolt of fabric I was purchasing that day. As is often the case in fabric establishments, the shop employee asked me what I was planning on making. I shared that I had copied a pair of well-fitting pants from ready-to-wear and planned to make up the pattern I drafted with this particular fabric I’d chosen.
Though he did his best to conceal it, I noticed a slight cringe in his reaction. I asked him if I’d said something to offend and he replied, “sorry, I’m a designer”. (Awkward pause) Then I said something to the effect of looking forward to seeing his unique take on design and fashion and wished him the best success in the future.
Though I could empathize with the fabric shop employee/emerging designer’s reaction, I’ve heard it said from more than one professional source that there are no copyright or design licensing standards in the fashion industry, hence the existence of “knock offs” and copies of current and vintage designers within the vast realms of ready to wear and pattern makers.
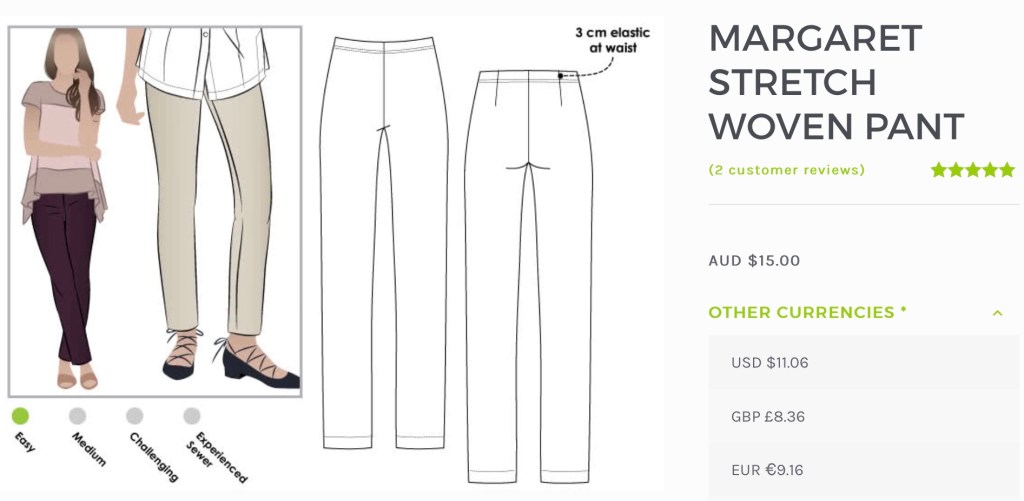
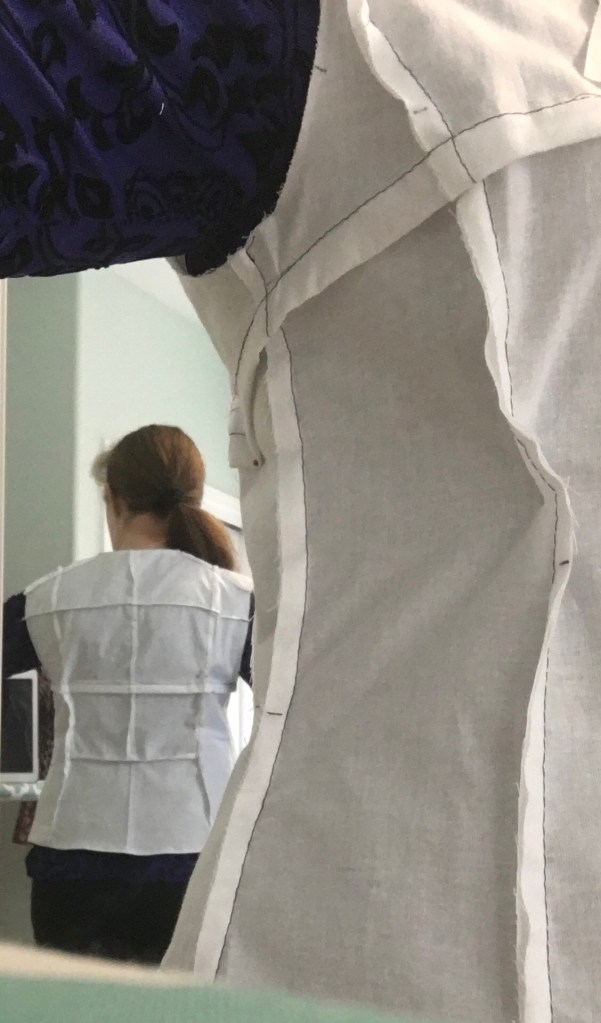
When investing in well-made and beautifully-designed garments, I not only enjoy wearing them, but also find great inspiration in learning more about the structure, choice and quality of fabric used, proportion and construction methods employed. The information gleaned from the all of the above often inspires me to create my own custom-drafted pattern. As is often the case, my pattern is further altered to better address my specific figure and proportion specs.; ultimately yielding a more flattering fit when all is said and done.
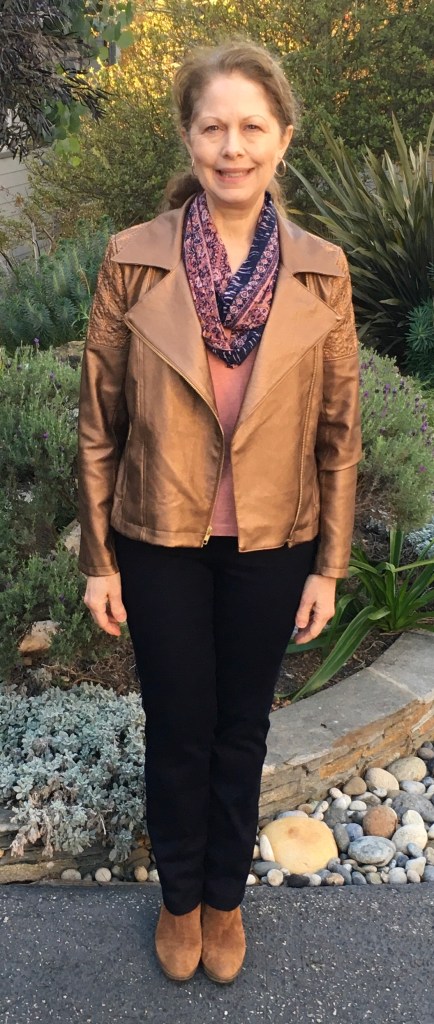
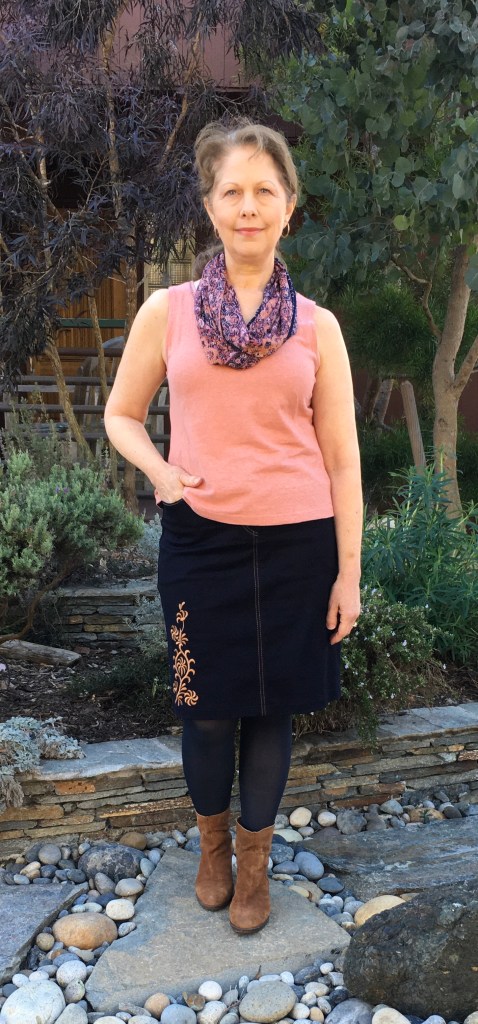
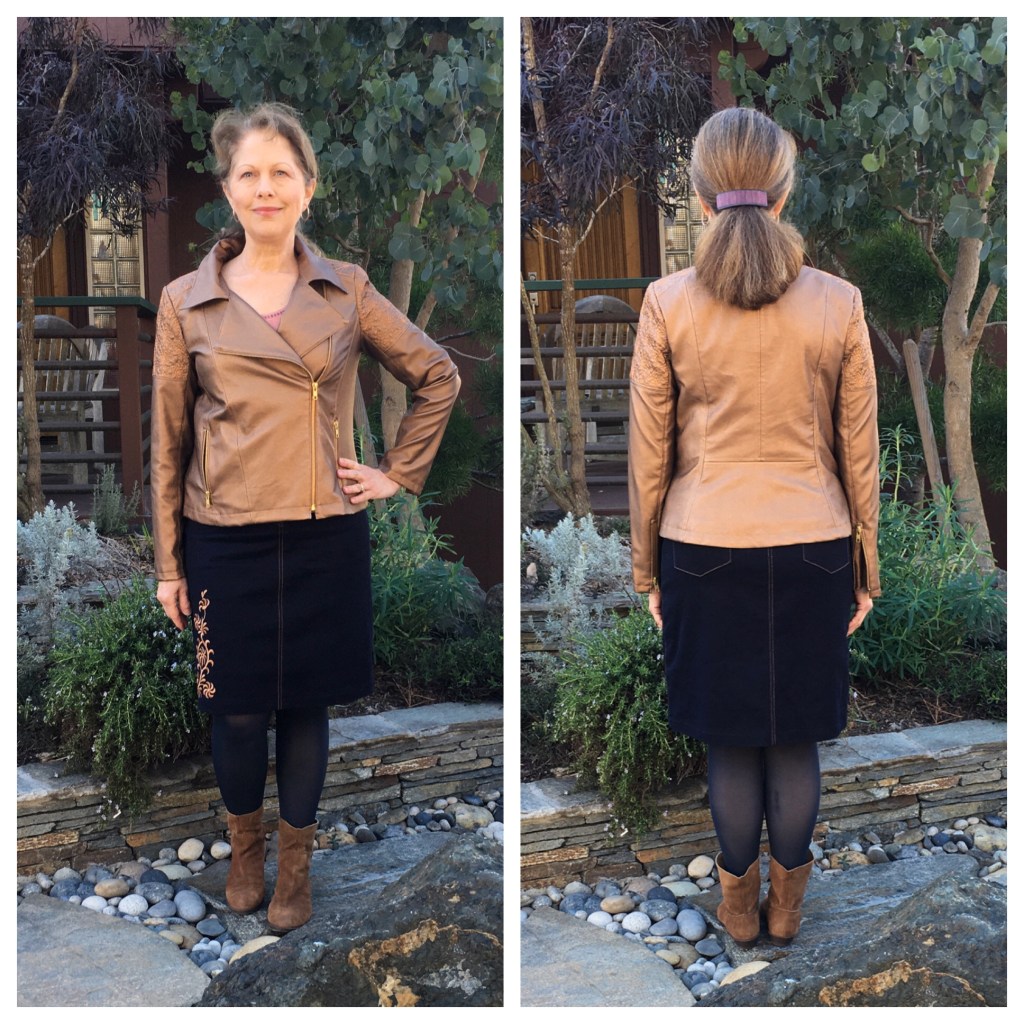
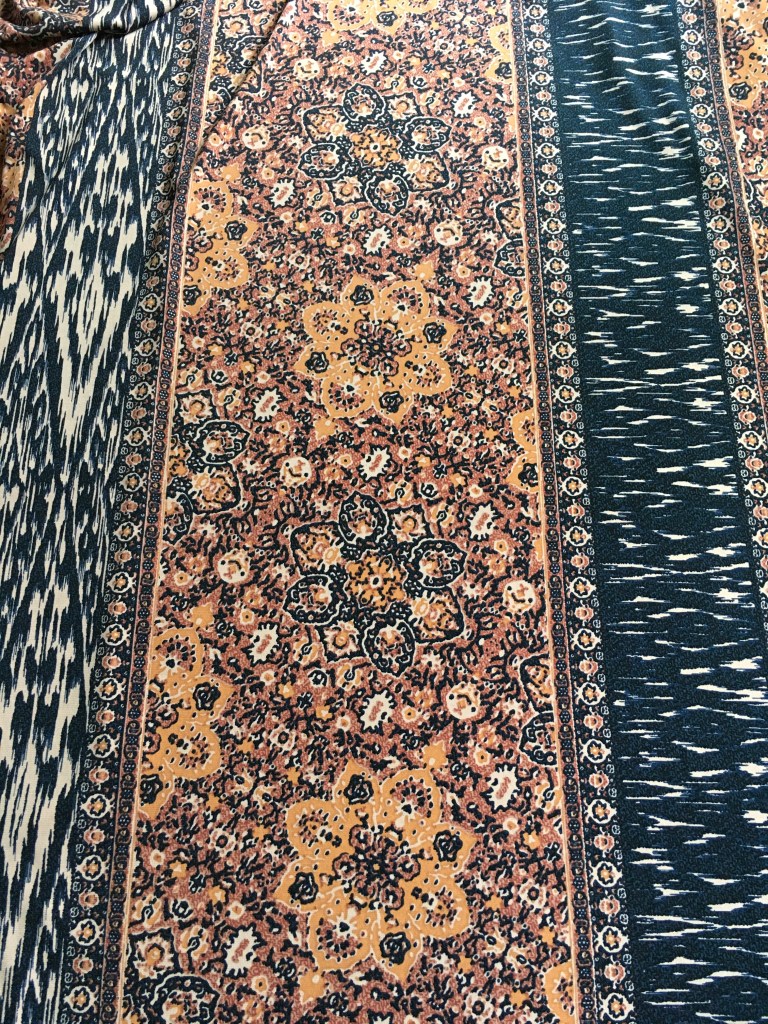
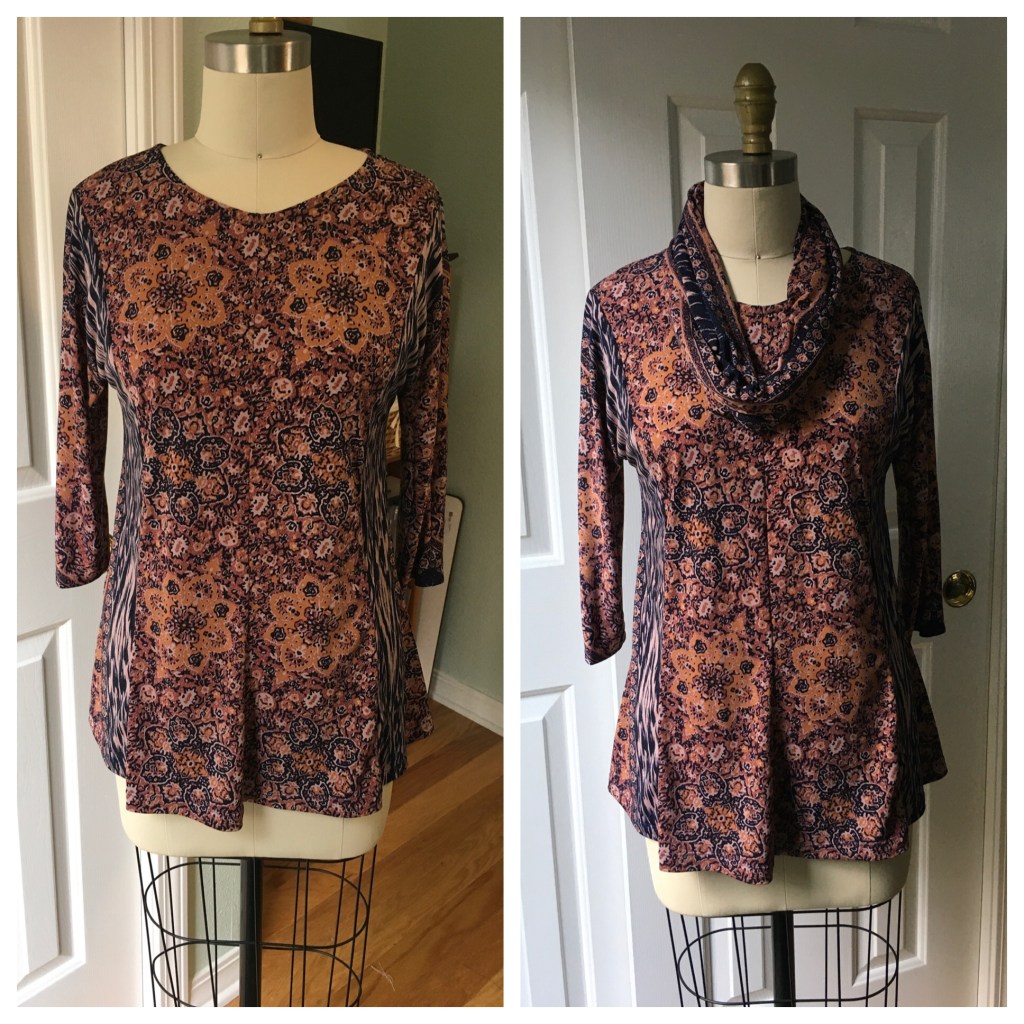
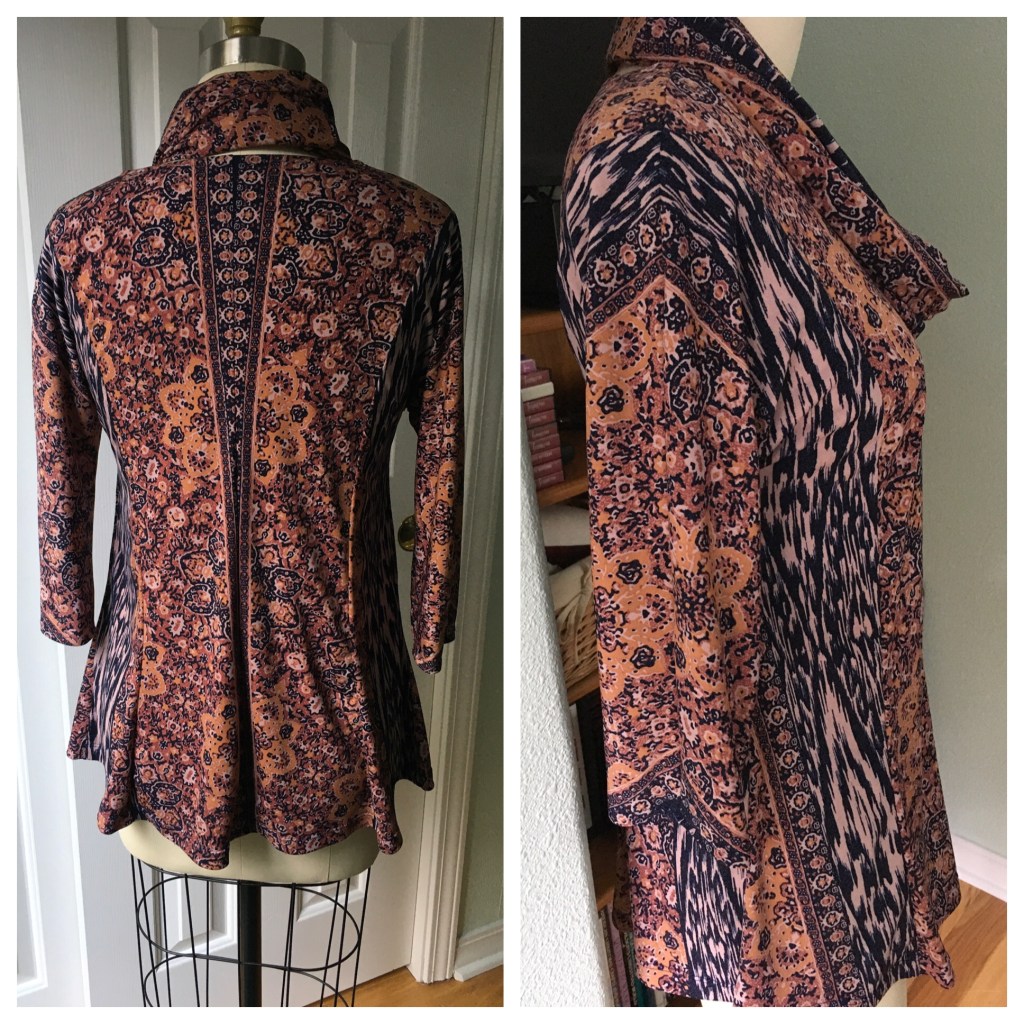
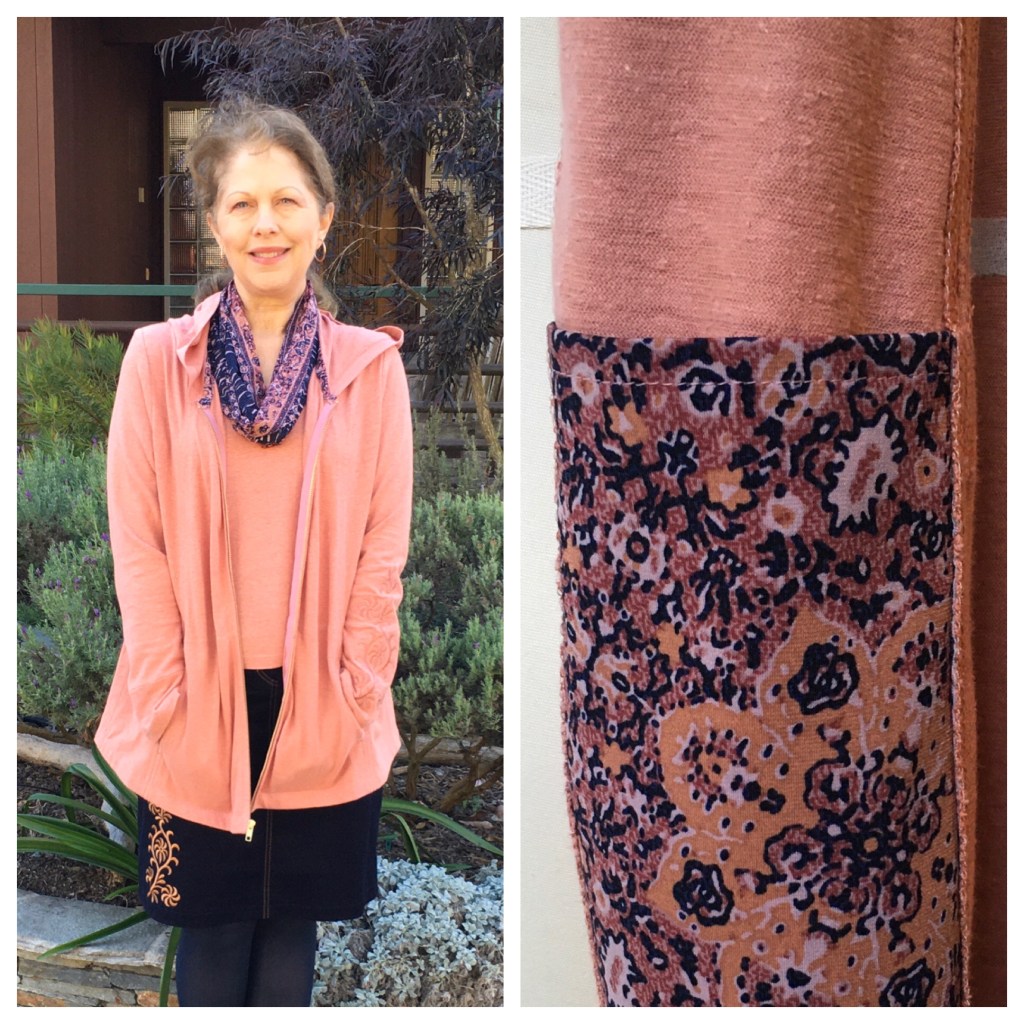
In the case of the A-line, tunic-length “hoodie” included in my capsule wardrobe contest collection, I used self-drafted pattern I created from a RTW version of the same a couple years back. Since my first attempt at making up this pattern (from a lightweight wool jersey) turned out well, the choice of palette-coordinating dusty rose, lightweight cotton knit fabric (see tank top piece from same in my last post) seemed like it might also fit the bill.
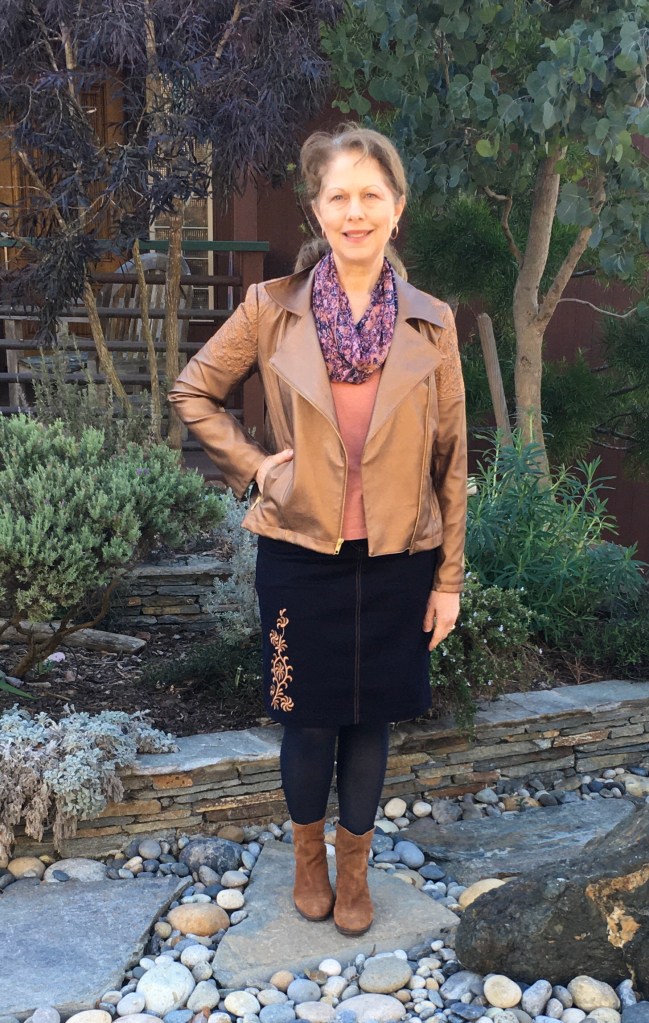
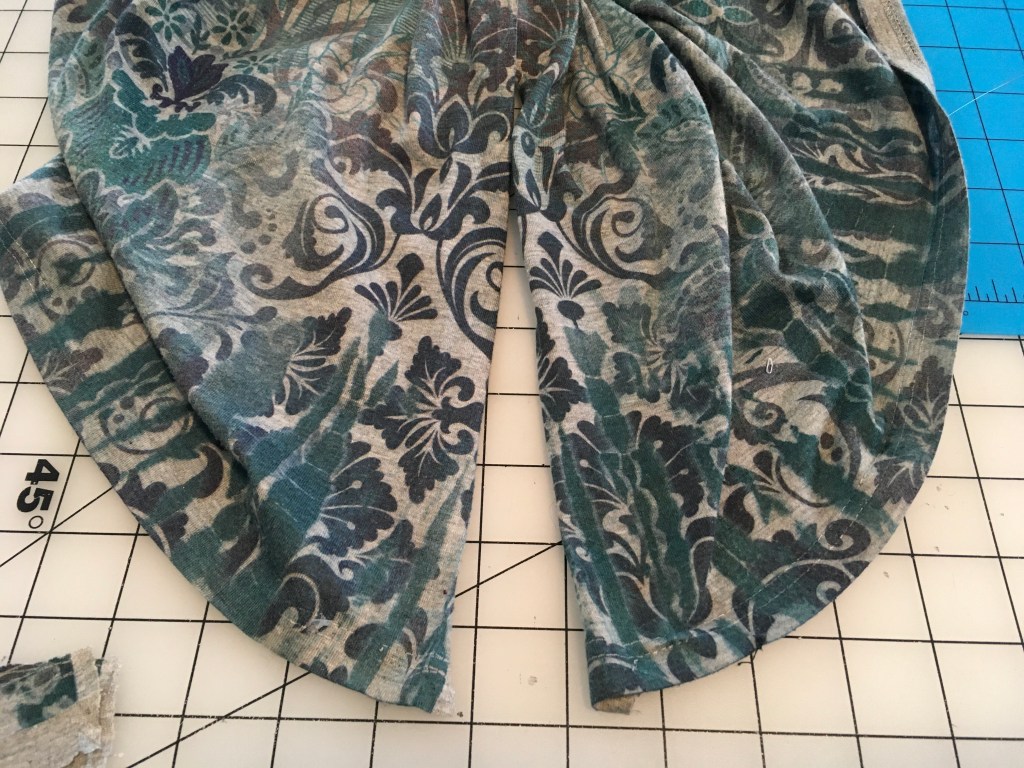
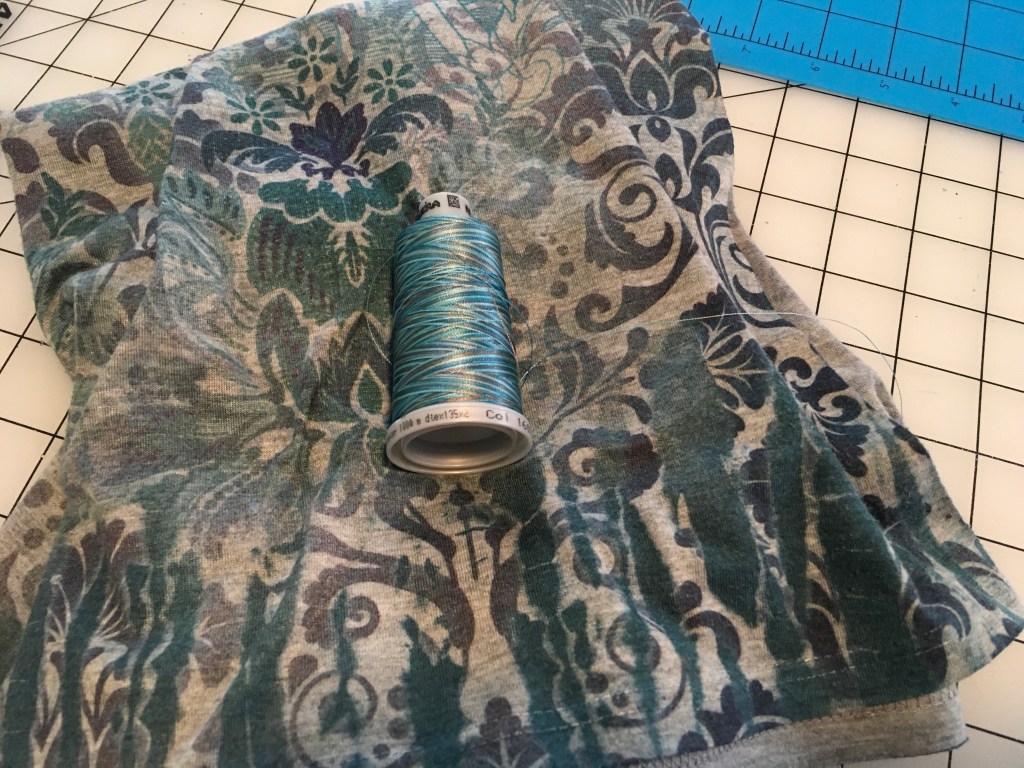
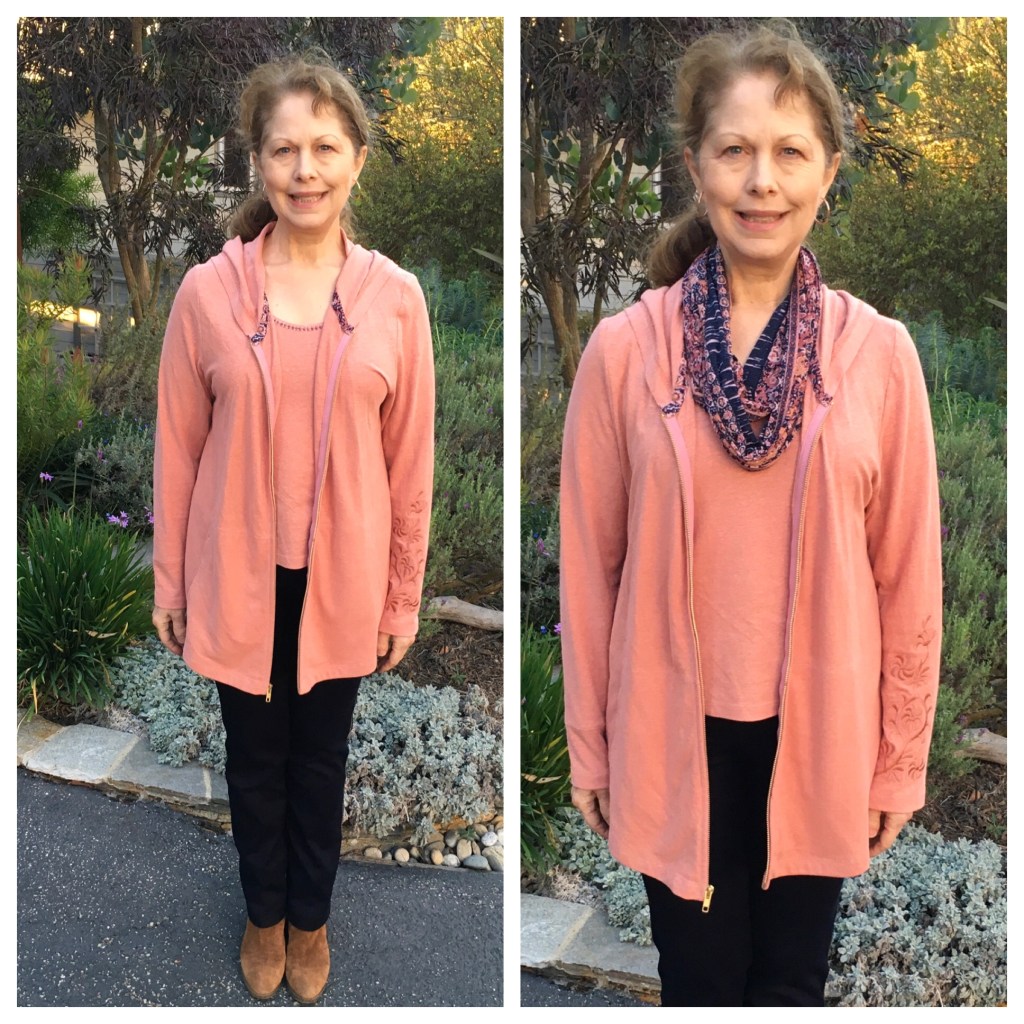
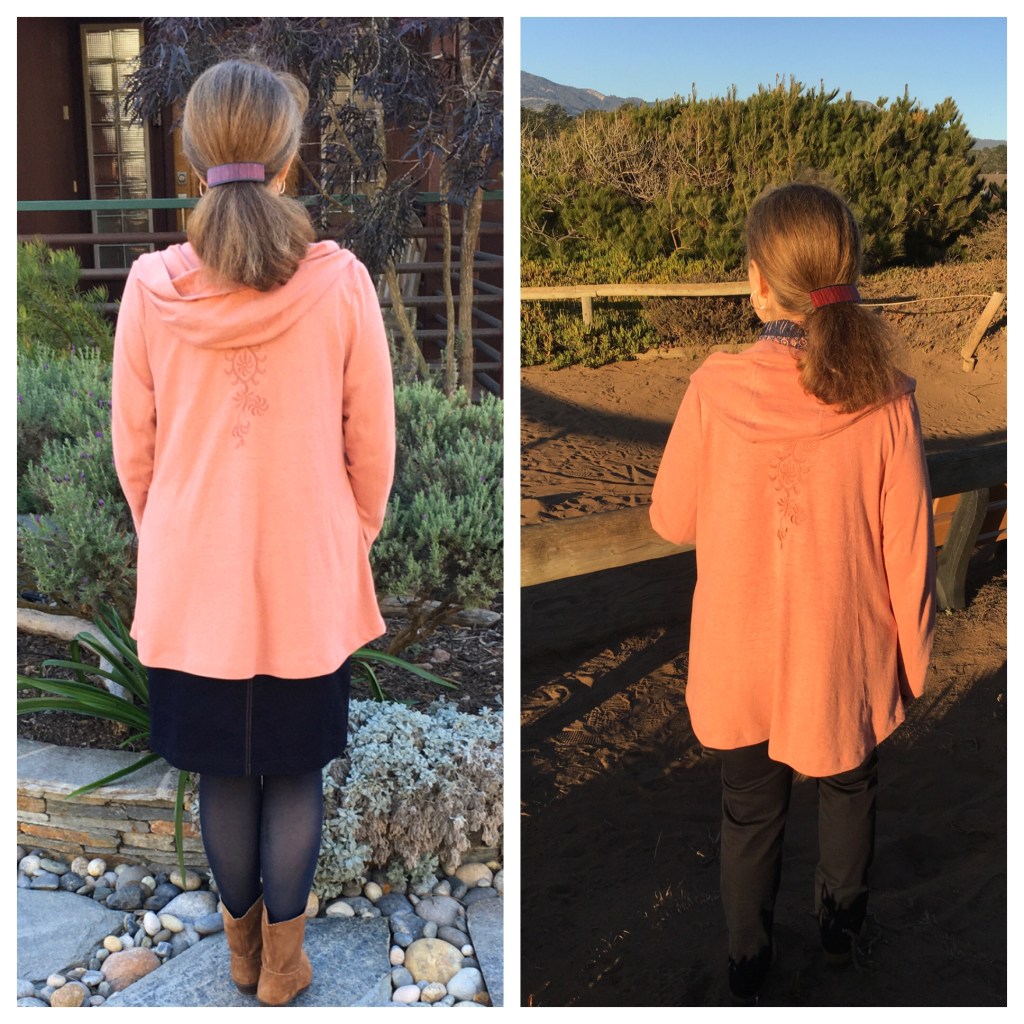
The A-line princess seam design lines and tunic length features of this particular garment are figure-forgiving when it comes to fitting someone with pear-shaped proportions. Additionally, the center front pockets one often finds in a basic “hoodie” design are also present here. As someone who loves pockets, especially interior pockets for storing wallets, phones etc.. it’s no surprise that I found myself wanting to add two deep interior pockets which I elected to set into the inside side front sections of this garment. The available yardage of the dusty rose cotton knit fabric was somewhat limited, so I made the additional interior pockets out of, you guessed it, more scraps from the knit border print. During this whole process, that border print has definitely turned out to be the fabric that keeps on giving! (Look forward to even more usage of same in future posts) I also utilized more border print scraps to create a contrasting binding, concealing the raw edges of both the neck and hood seams.
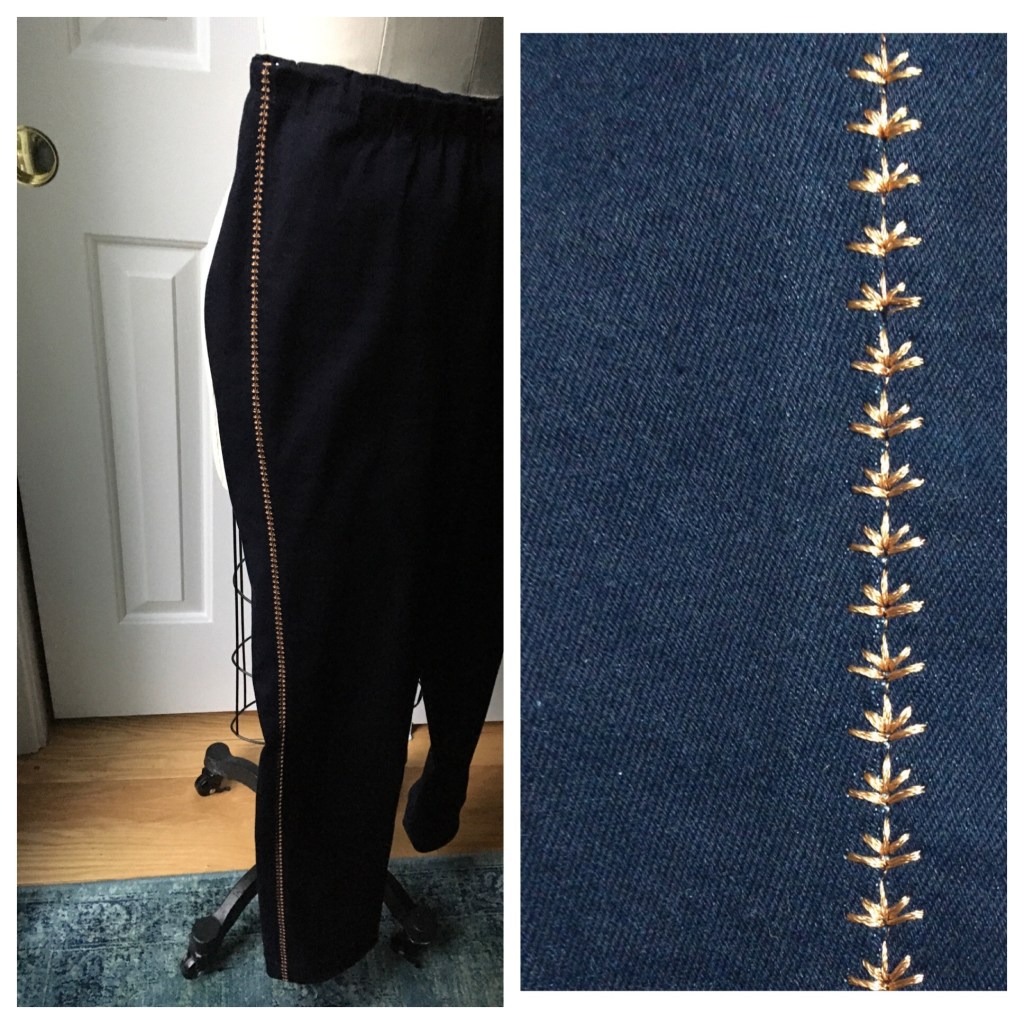
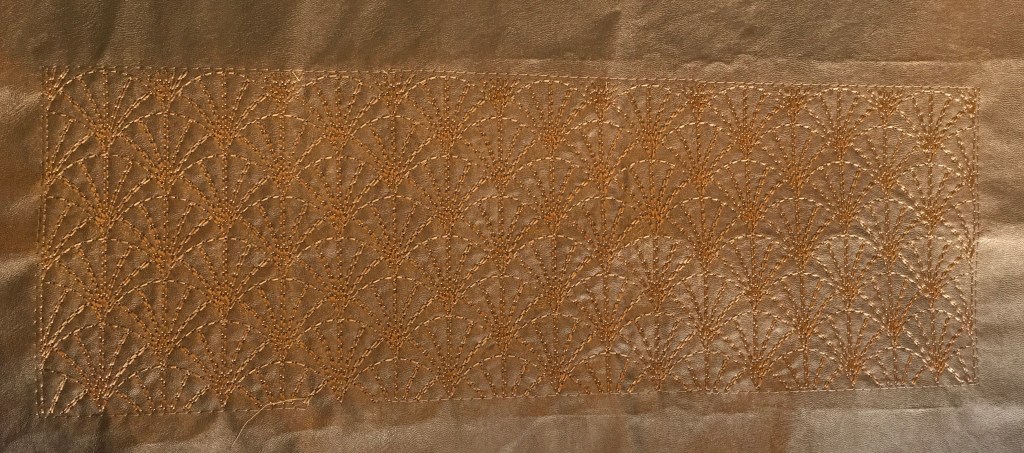
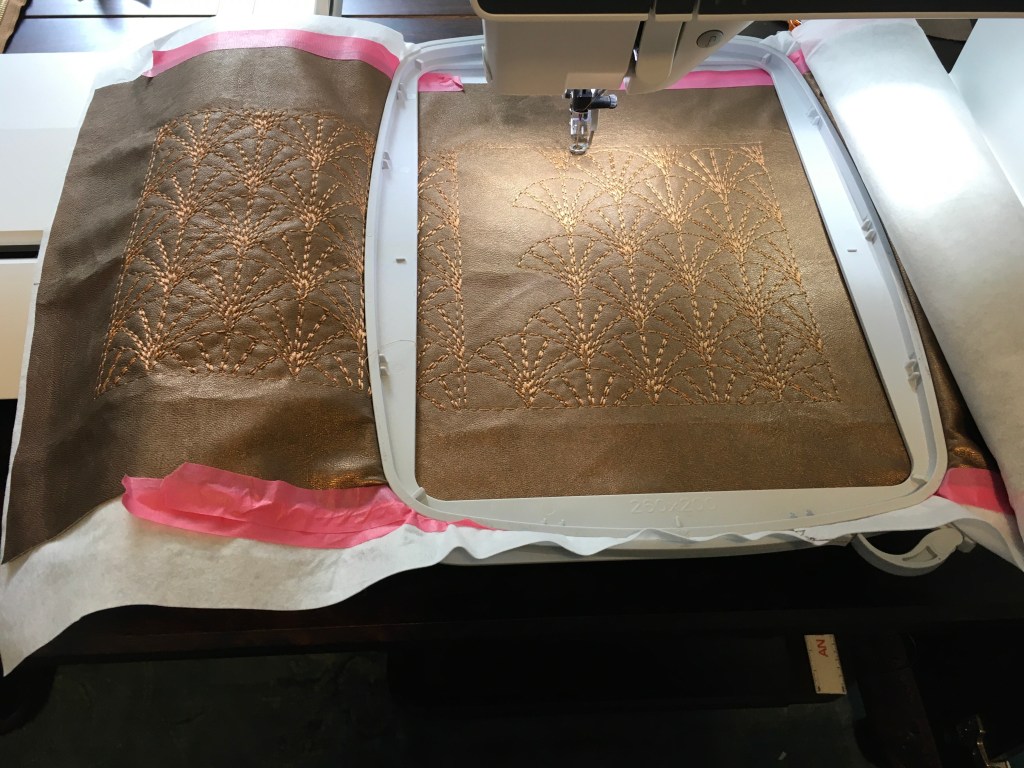
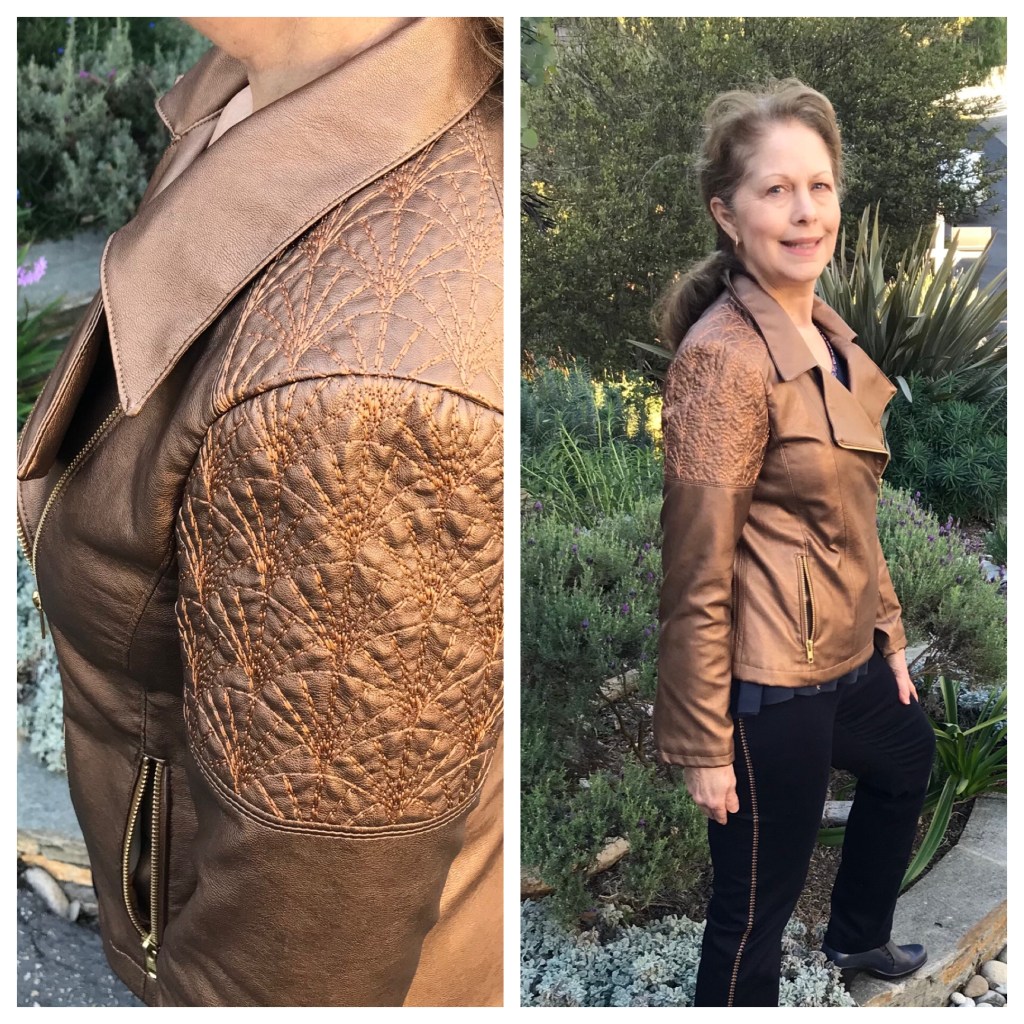
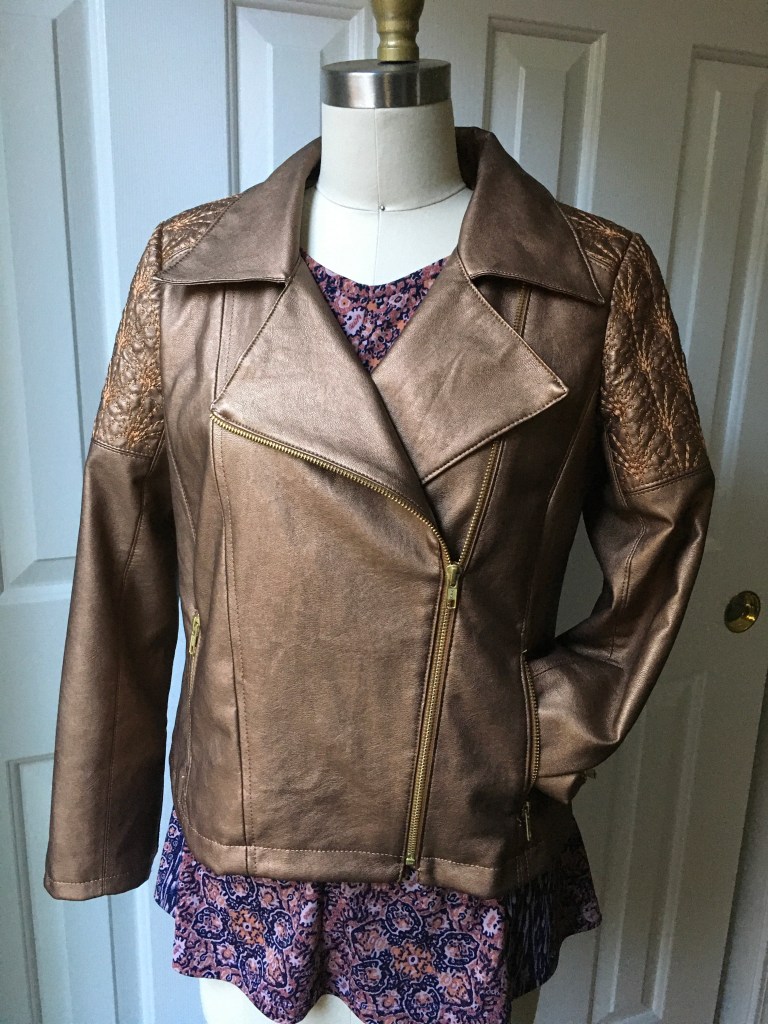
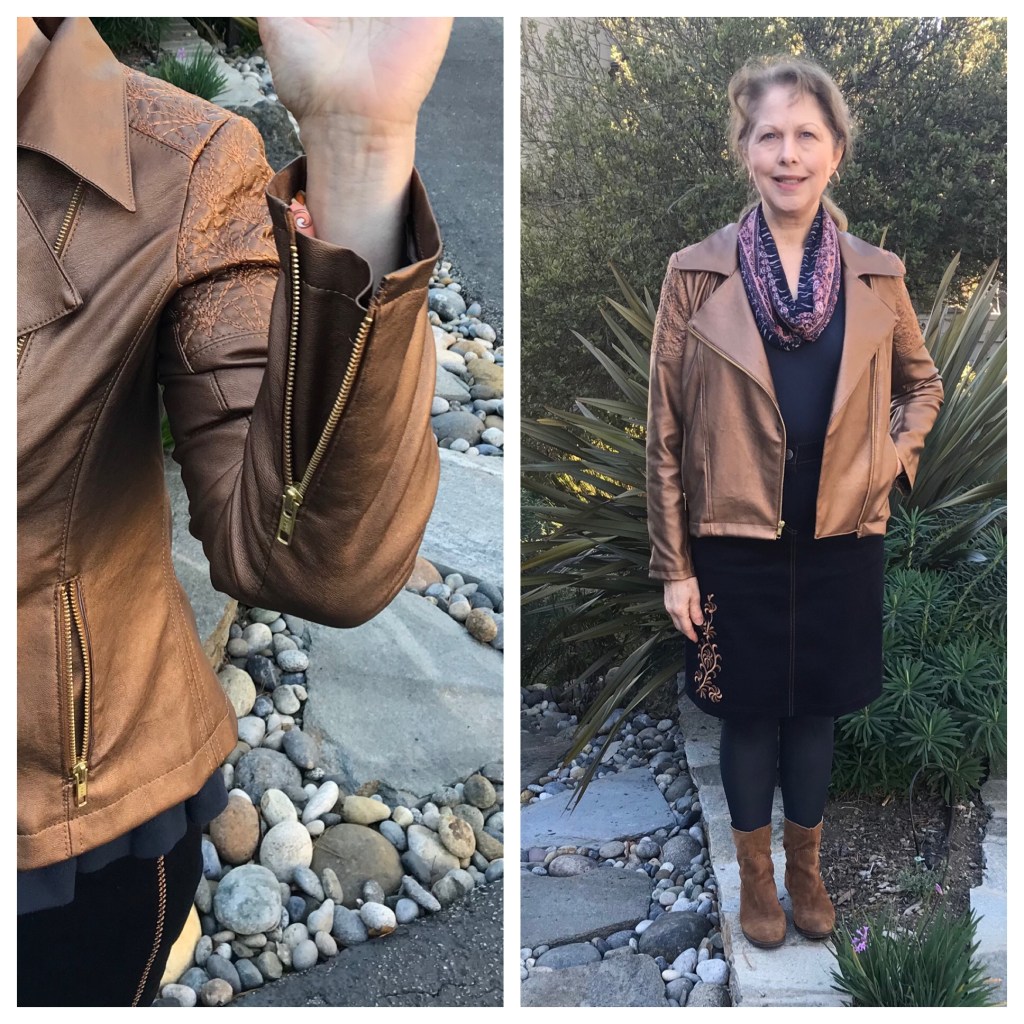
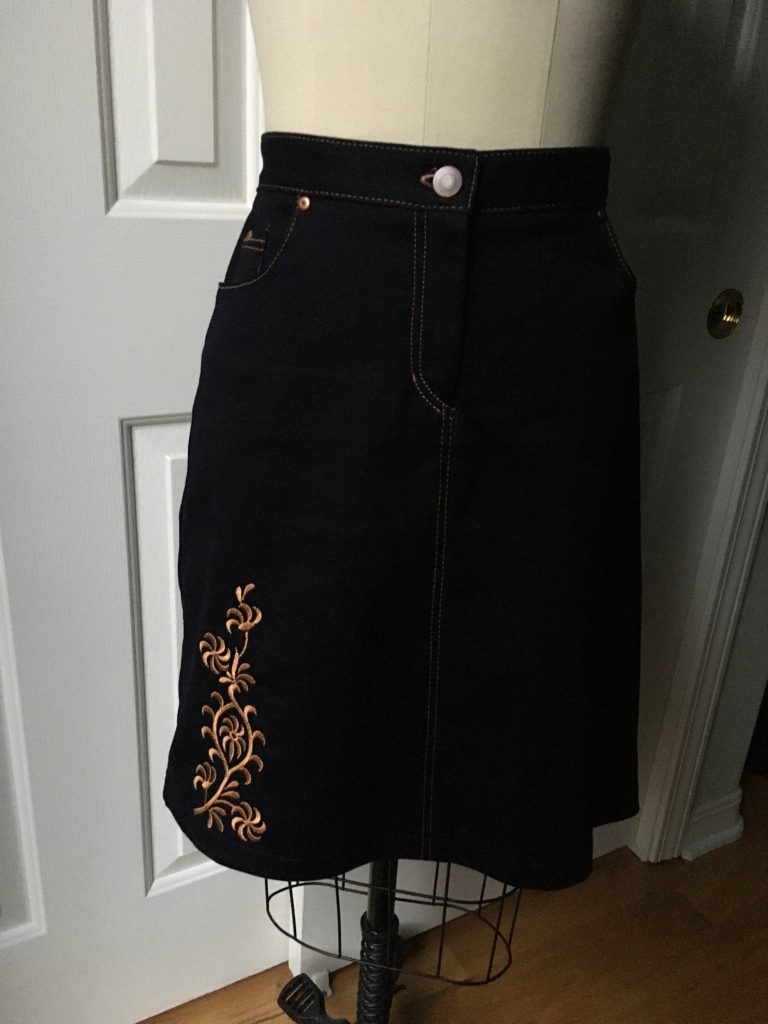
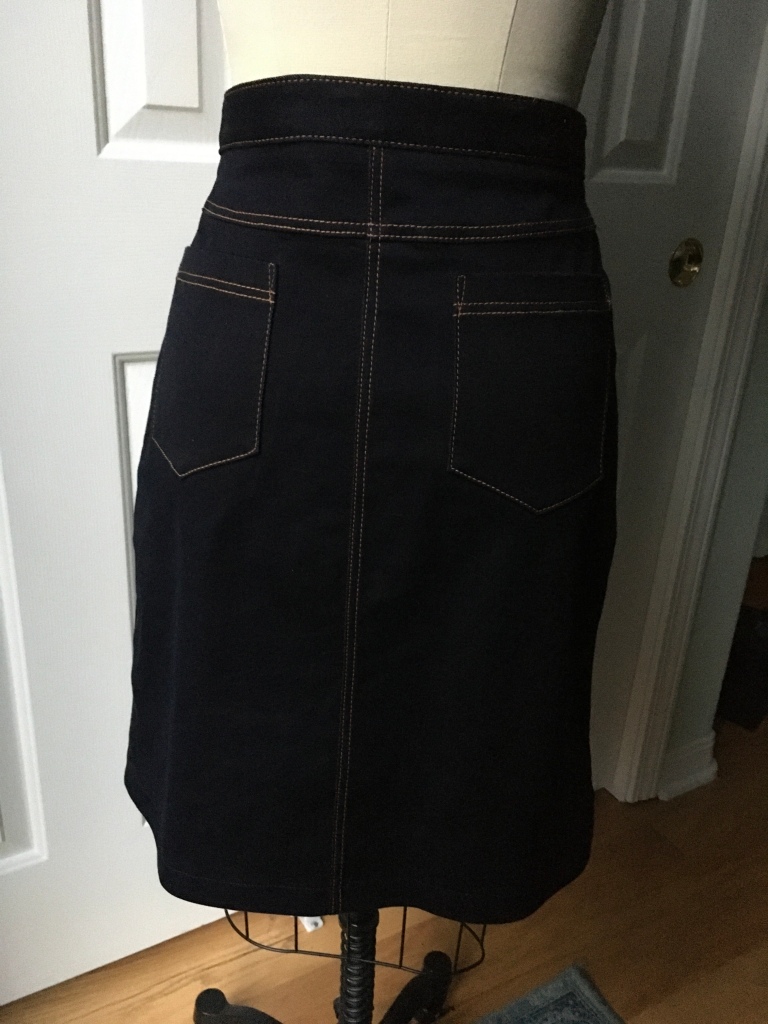
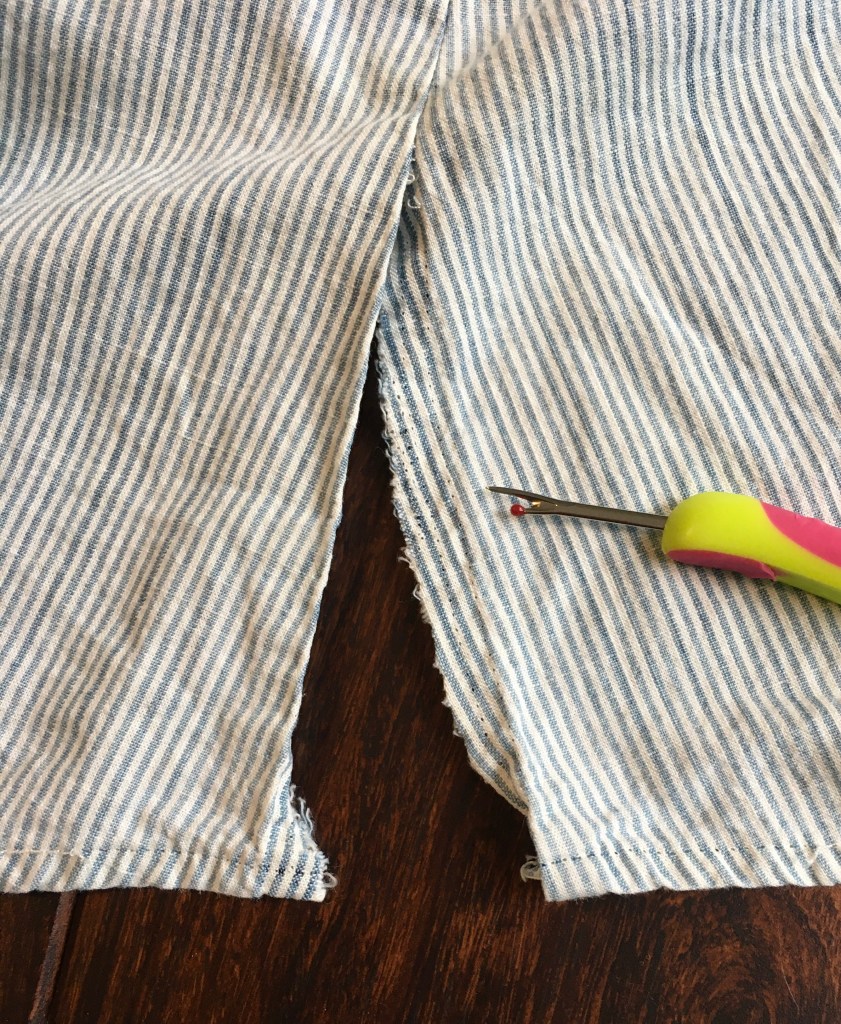
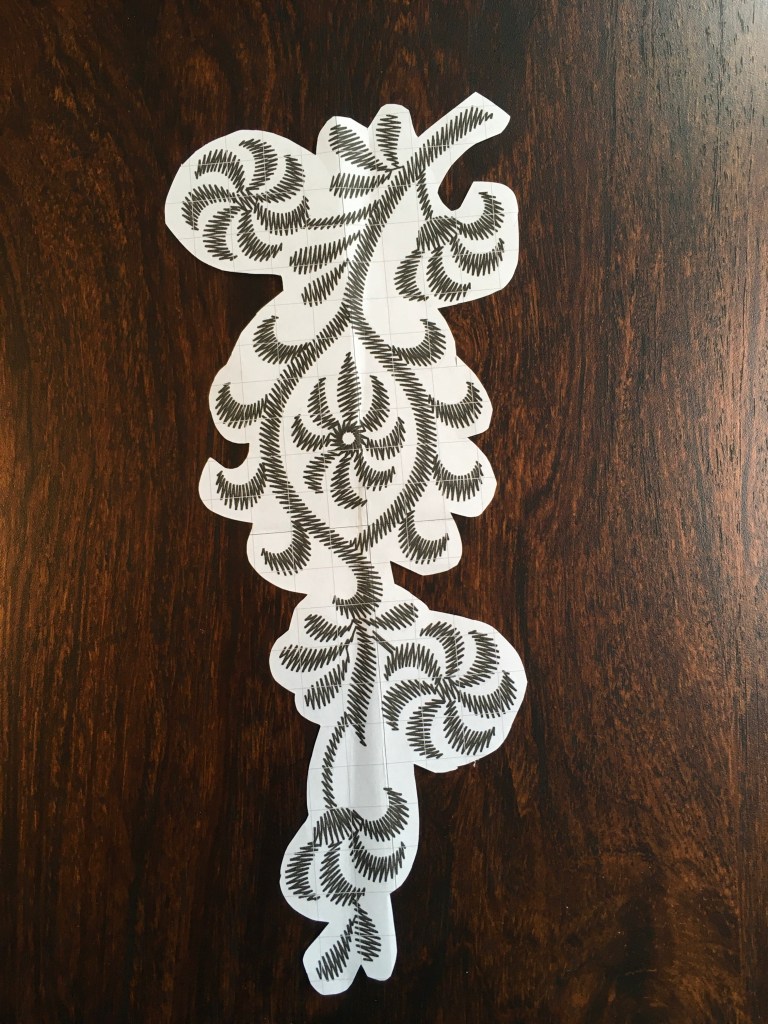
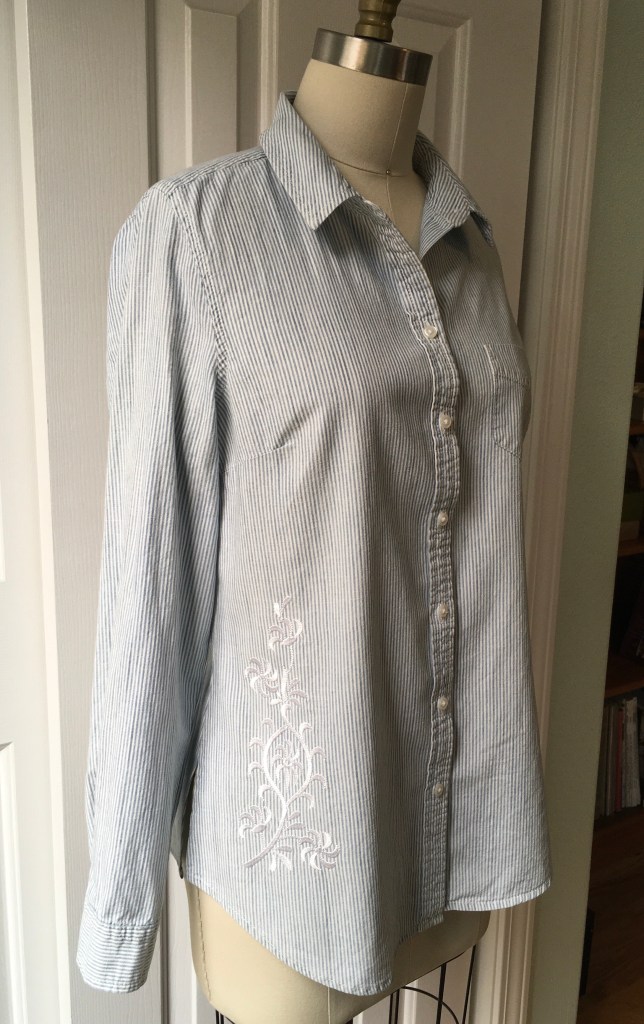
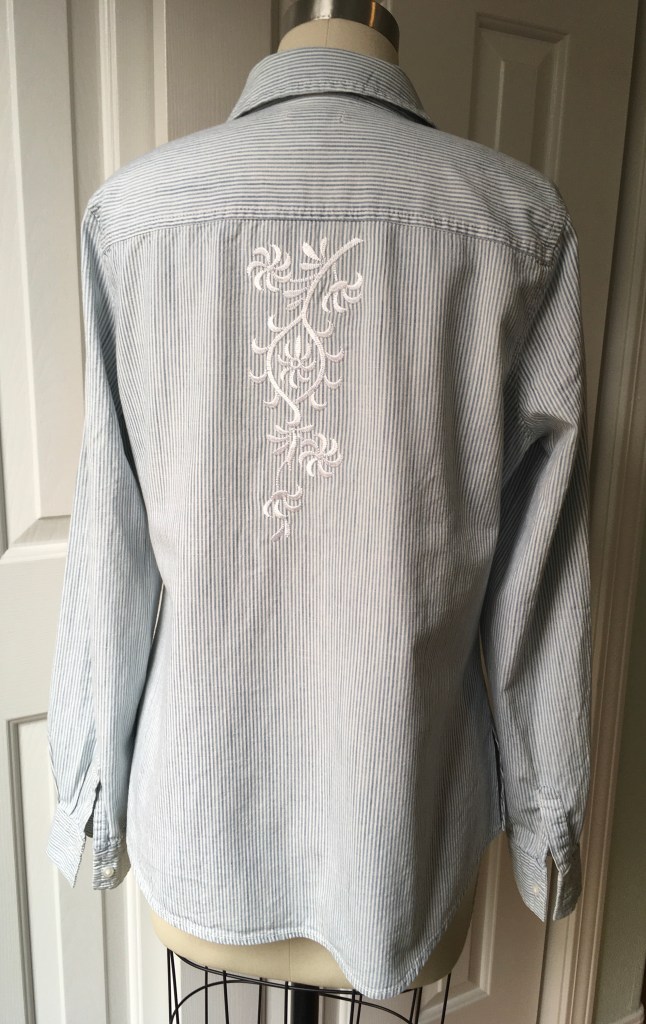
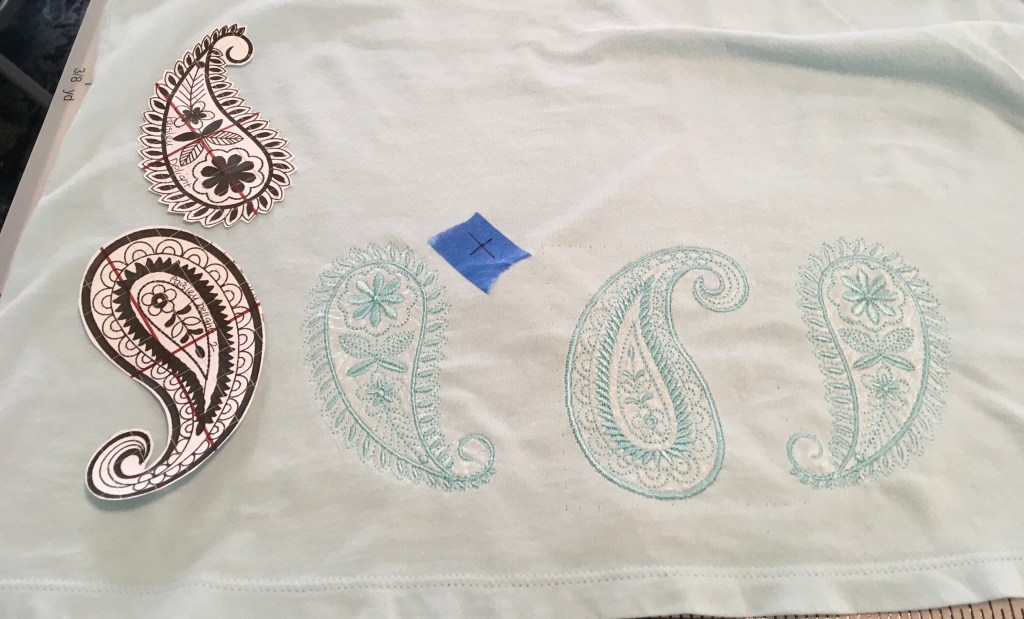
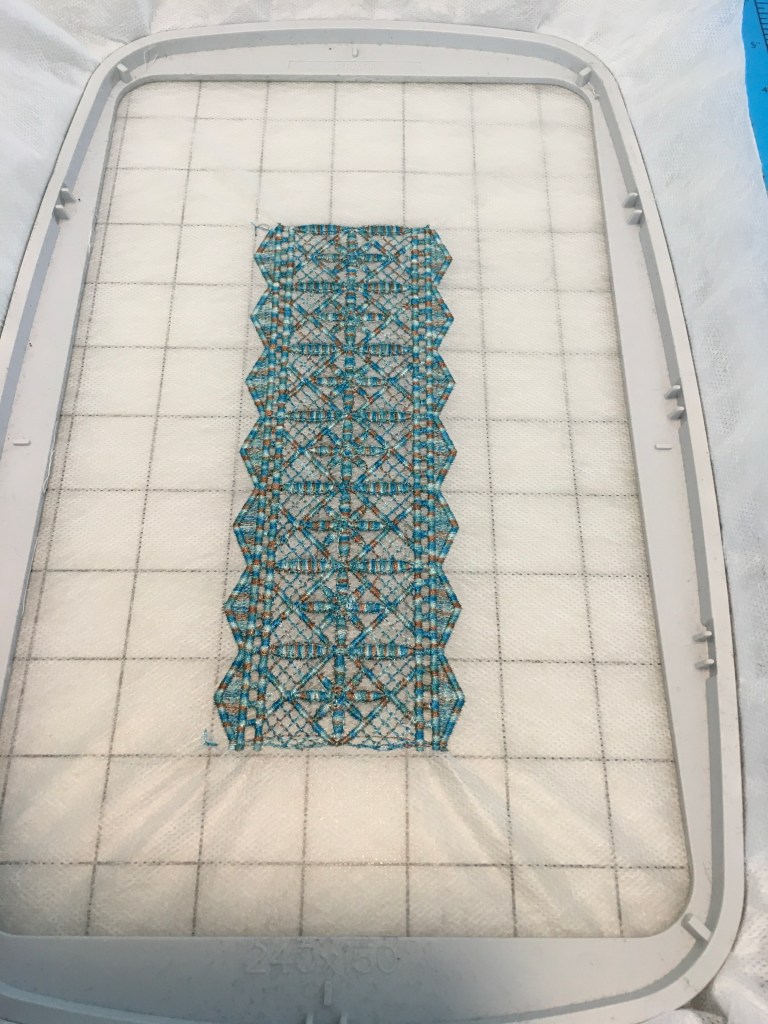
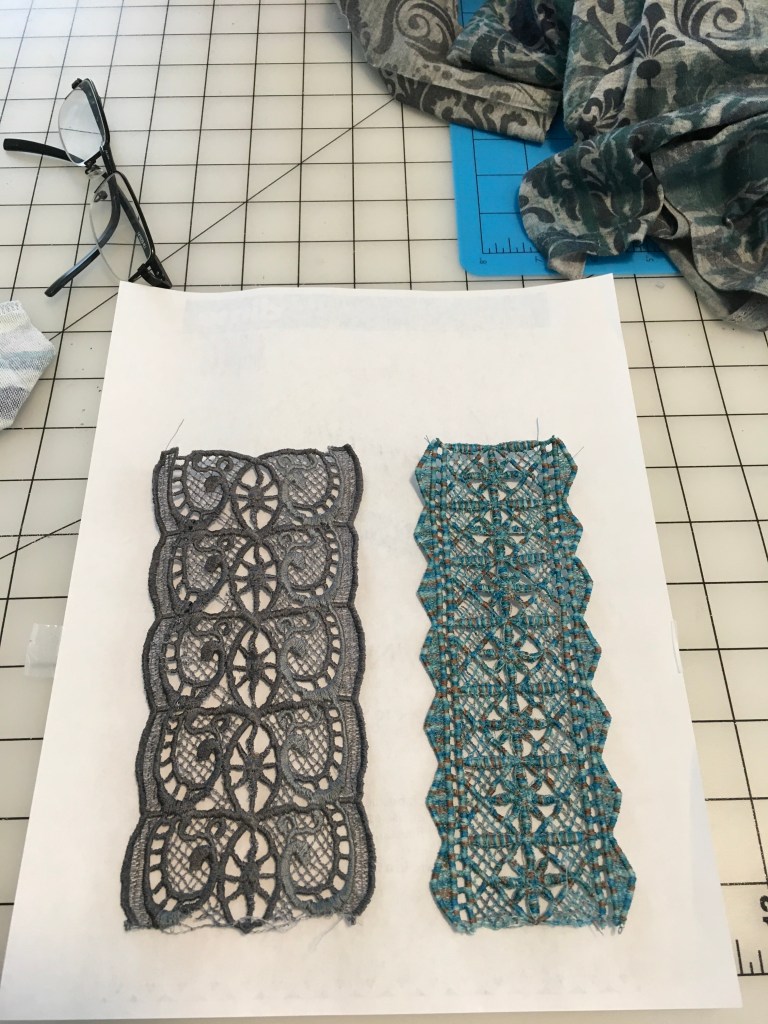
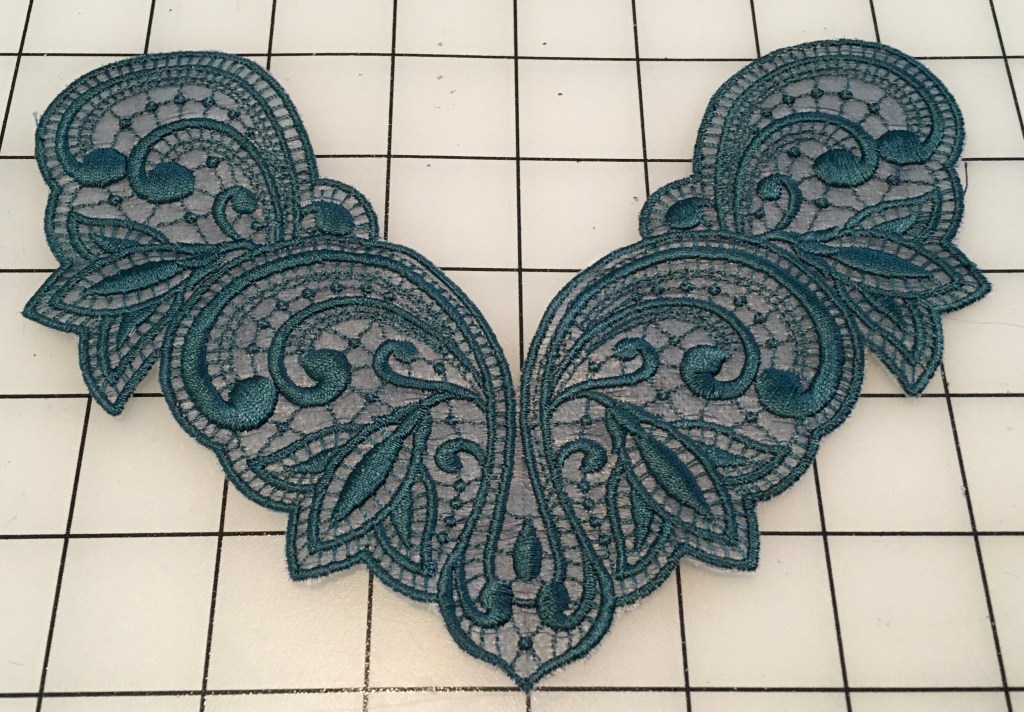
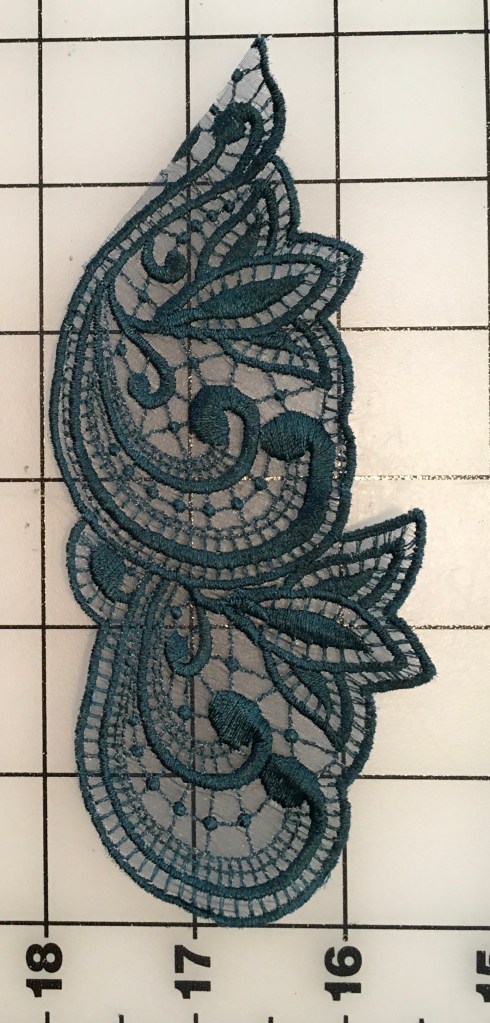
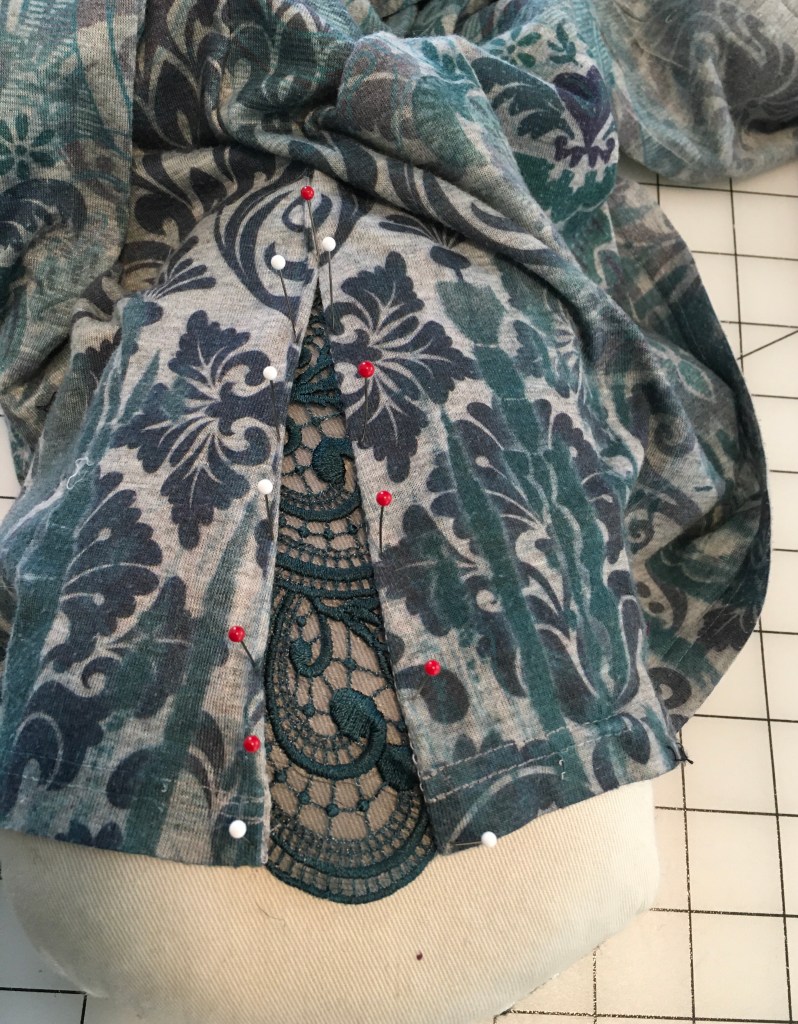
Lastly, in addressing the wardrobe contest “unique” criteria, I decided to add tone-on-tone machine-embroidered design elements to the front left sleeve and center back of this piece, making it a one-of-a-kind garment that I’ll enjoy wearing for years to come.. ** If the machine embroidery design looks familiar, it is the same Pfaff Feather collection design I used for the jean skirt in this wardrobe collection and on the front and back of the blue and white striped Old Navy shirt from a previous post. Since I seem to like it so much, this particular design is quickly becoming my signature logo. 🙂

Next up for part six, Silhouette Patterns #600 “Classic Blouse.