

One of the things I’ve been wanting to try for some time is making my own machine-embroidered lace. Thankfully one can find a wealth of video content currently available on this inspiring topic, both on embroidery design websites and YouTube for a start. My most recent inspiration came from an online webinar I watched entitled “Camouflage with Lace” presented by representatives from the Dime Company (dzgns.com).
A reoccurring theme in my ongoing education where all things machine-embroidery is concerned includes the following: effective and appropriate stabilization is at the forefront of achieving ultimate success. Machine-embroidered lace is no exception.
Among many things I’ve learned about machine-embroidered lace so far is that there are different design characteristics to consider. First, “free-standing” lace designs have a built-in, overall structure (hence the “stand alone” description) and are sewn directly onto water-soluble stabilizer which is later soaked away. Another type of lace design requires stitching onto a sheer foundation such as organza, tulle or “no-show” mesh. A third option is sewing a lace design directly onto fashion fabric, (as opposed to attaching on top) and using either a cut-away or tear-away stabilizer underneath. Depending on the fabric, some sort of “topper” layer of stabilization might be used as well.
The cautionary tale here is that in the absence of a built-in design structure or appropriate foundation, your lace will (even if sewn on water-soluble stabilizer) most likely disintegrate or in the case of a knit, shrink and pucker before your eyes.
With fresh inspiration gleaned from the recent webinar and armed with a new roll of high-quality water-soluble stabilizer, I decided to dive into lace-making at long last.
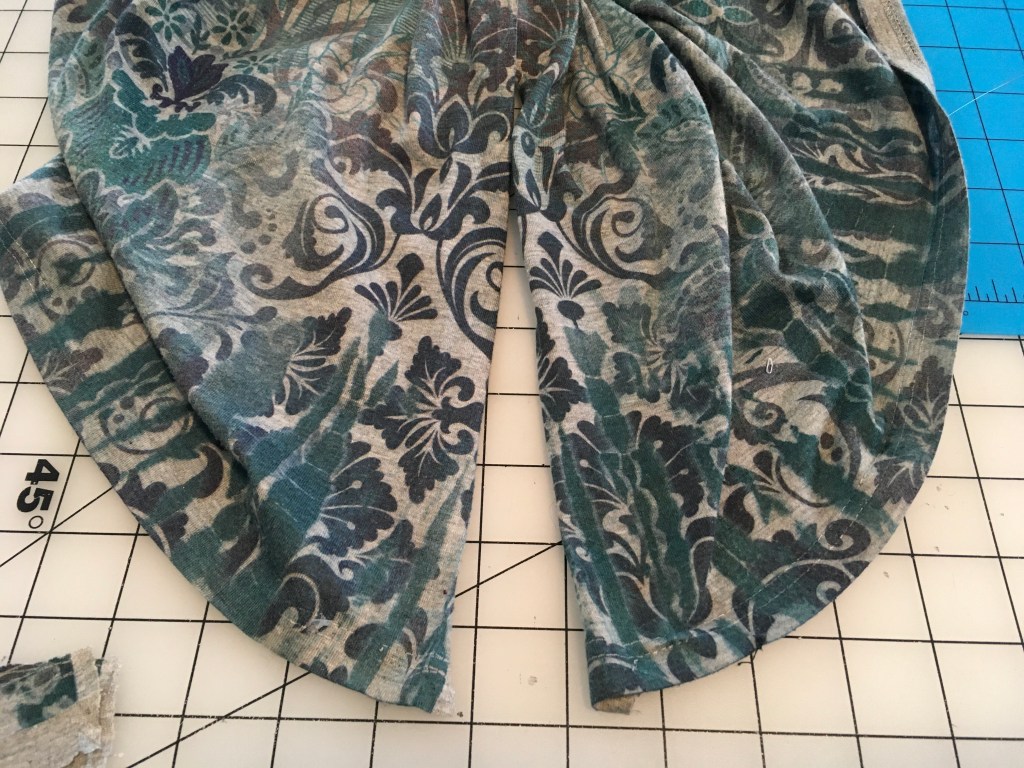
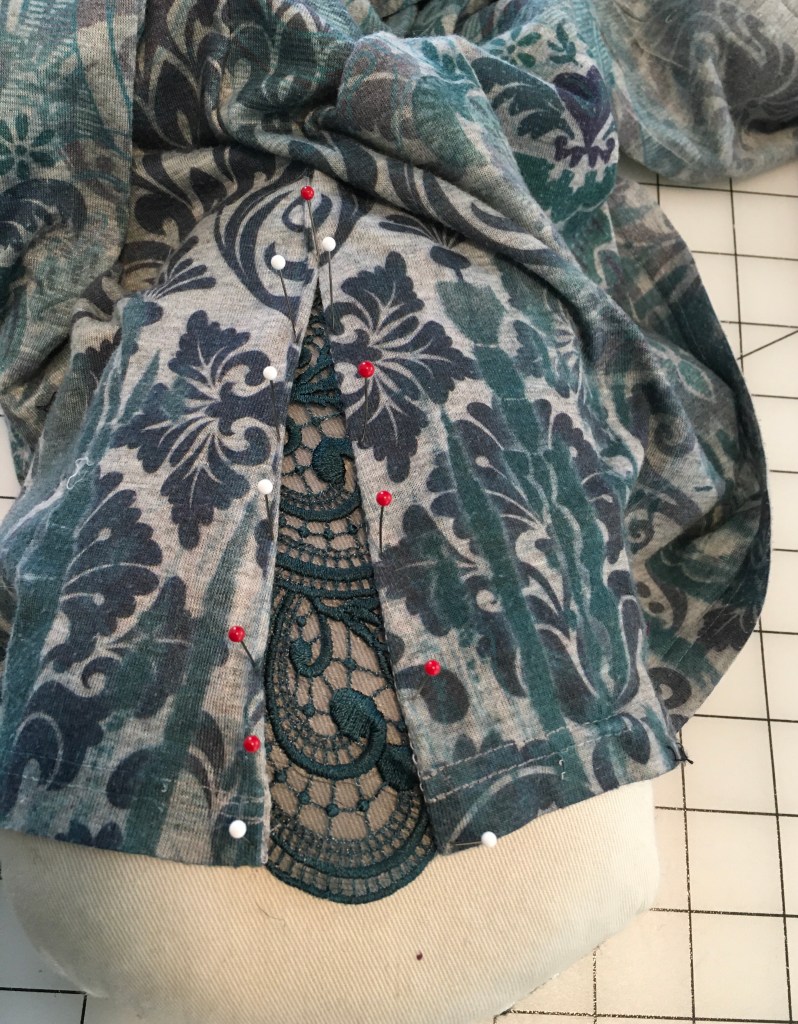
My project involved altering a secondhand, Coldwater Creek tee I acquired via Thredup com. I really loved the colors in the print and hadn’t seen anything like it in my recent fabric shopping efforts. As is often the case with my pear-shaped figure, the neck and shoulders of the tee fit reasonably well but I needed a couple more inches of circumference at the hem. Lightbulb moment=side lace inserts!
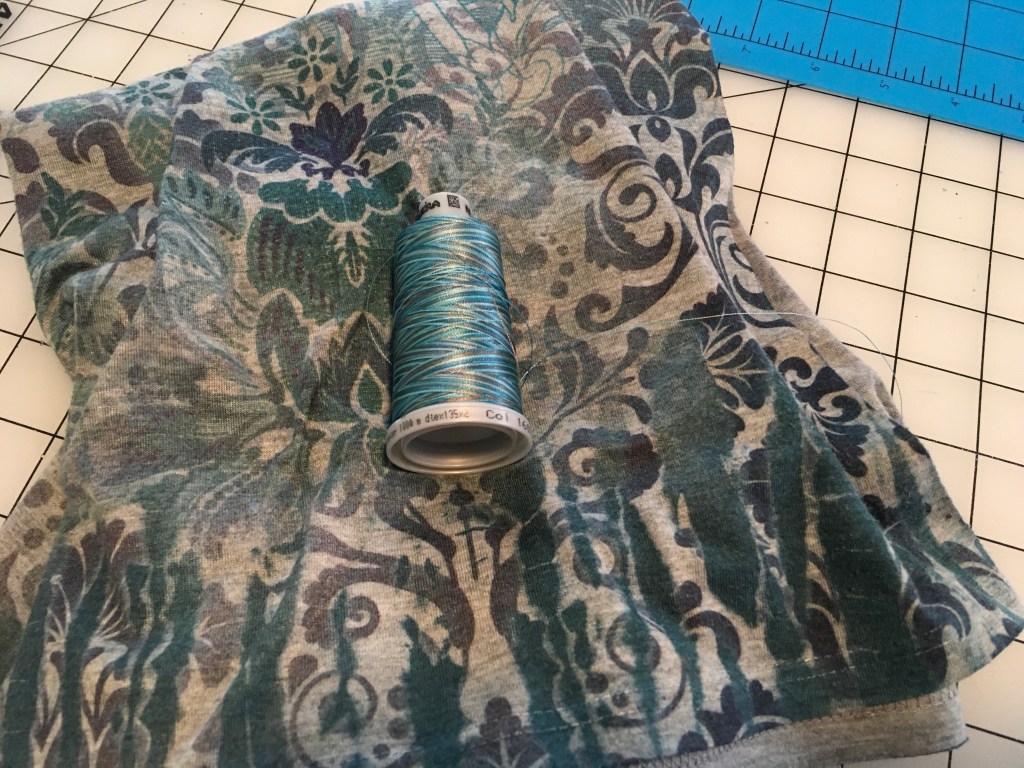
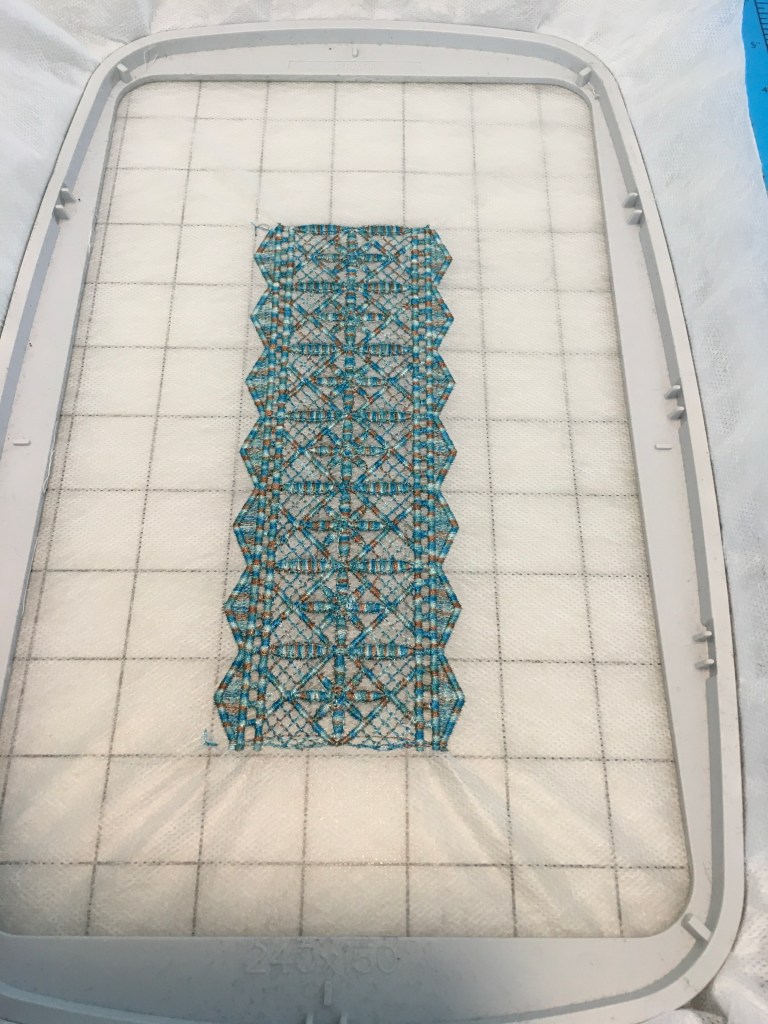
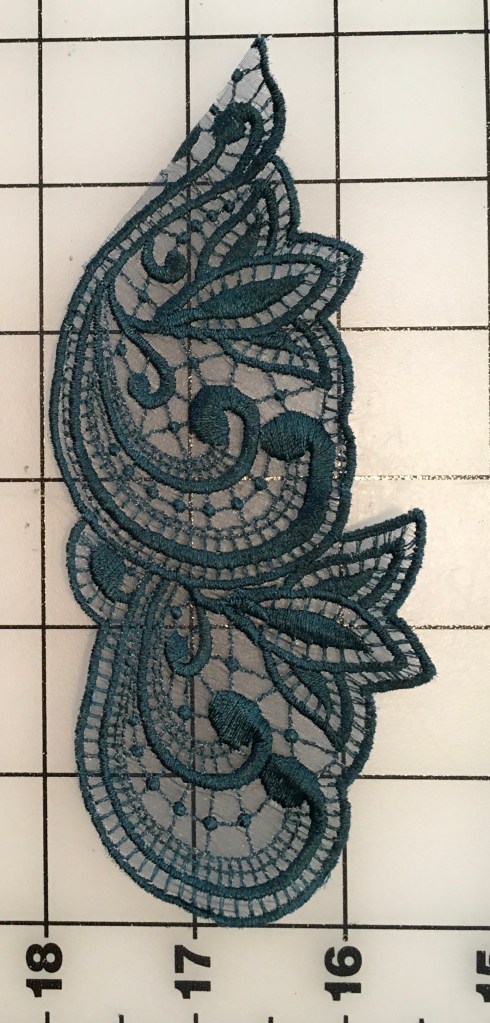
I found this variegated teal thread in my stash so I used this when stitched out my first design:
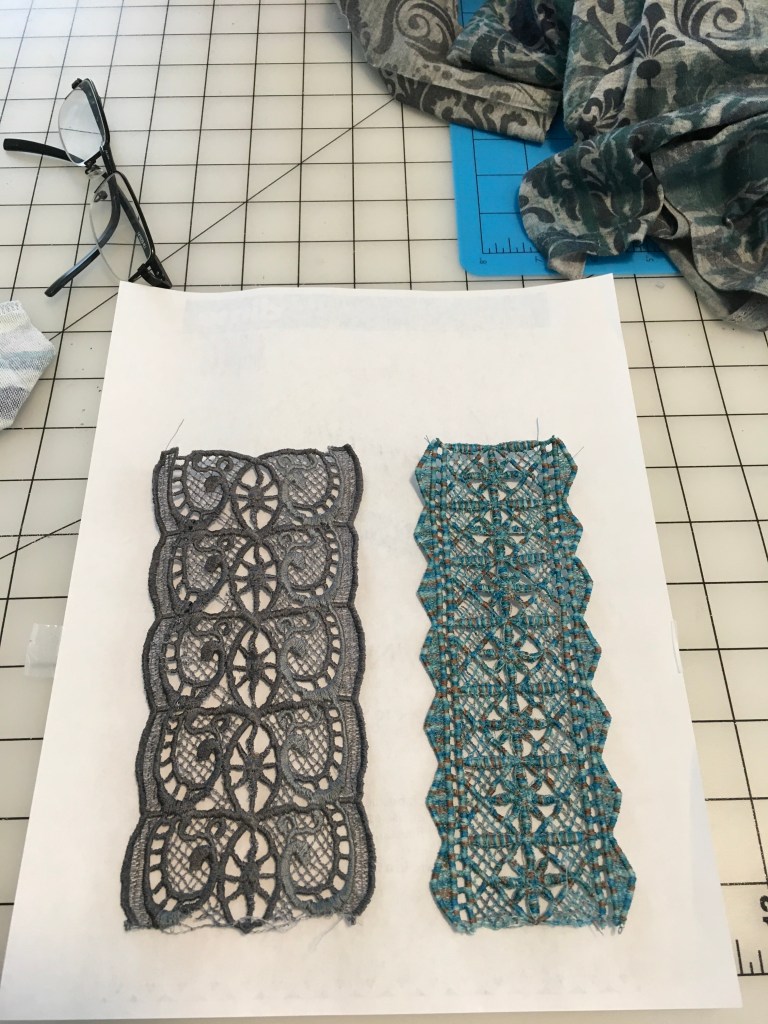
Next I tried some free-standing lace in a gray rayon thread. (I ran out of one thread and replaced with a similar color…)
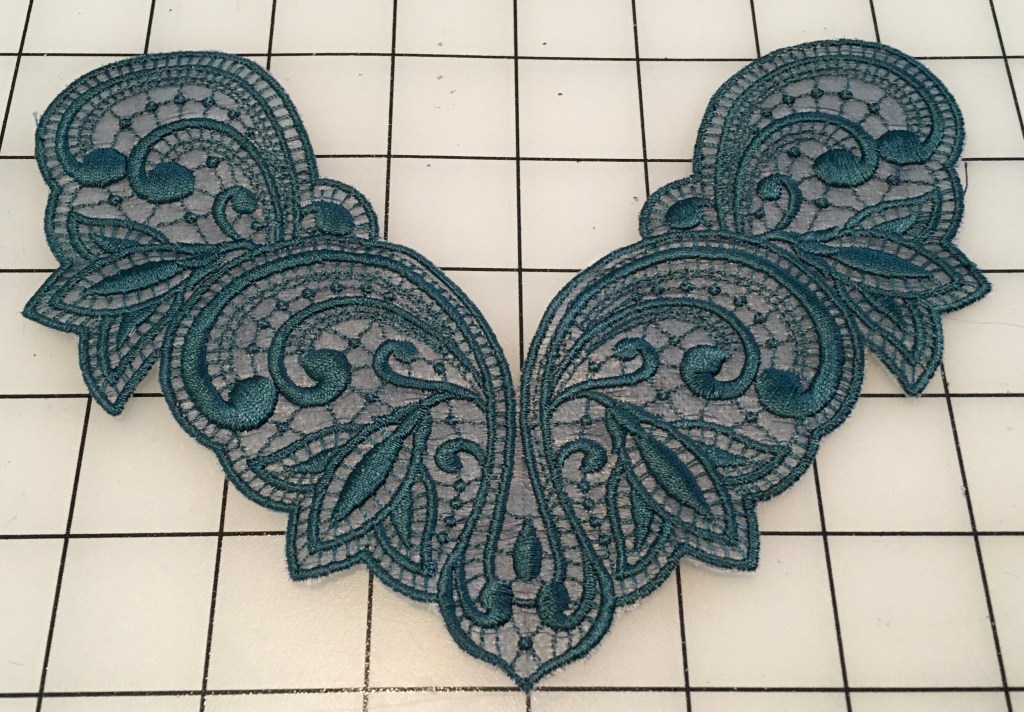
Ultimately I decided to order some matching teal rayon thread and chose a third design which is meant to be stitched on tulle or similar. In this case I chose a navy organza. Within minutes of stitching out this design I knew it was a keeper.

In conclusion, creative inspiration is everywhere around us. Research, ongoing education, the process of trial and error, solving puzzles and not worrying about the outcome of any given project continue to motivate me with each passing day. My ultimate take away? One’s efforts do not need to result in being masterpieces to be worth time well spent. Until the next adventure…

Great post and beautiful result. Love the experimentation and problem solving processes.
LikeLike