
Late last September, my sewing friend, Tina and I met up again, this time in the San Fransico Bay Area for a five-day pattern fitting and fabric shopping adventure.
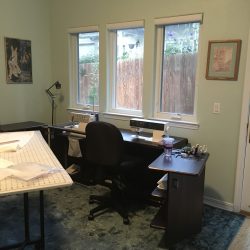
After much research about where to stay, we finally booked a charming little two bedroom houseboat in Sausalito. It was comfortable and cozy and yet we still had room to set up an ironing board, sewing machine and tri-folding full-length mirrors for our pattern-fitting needs.

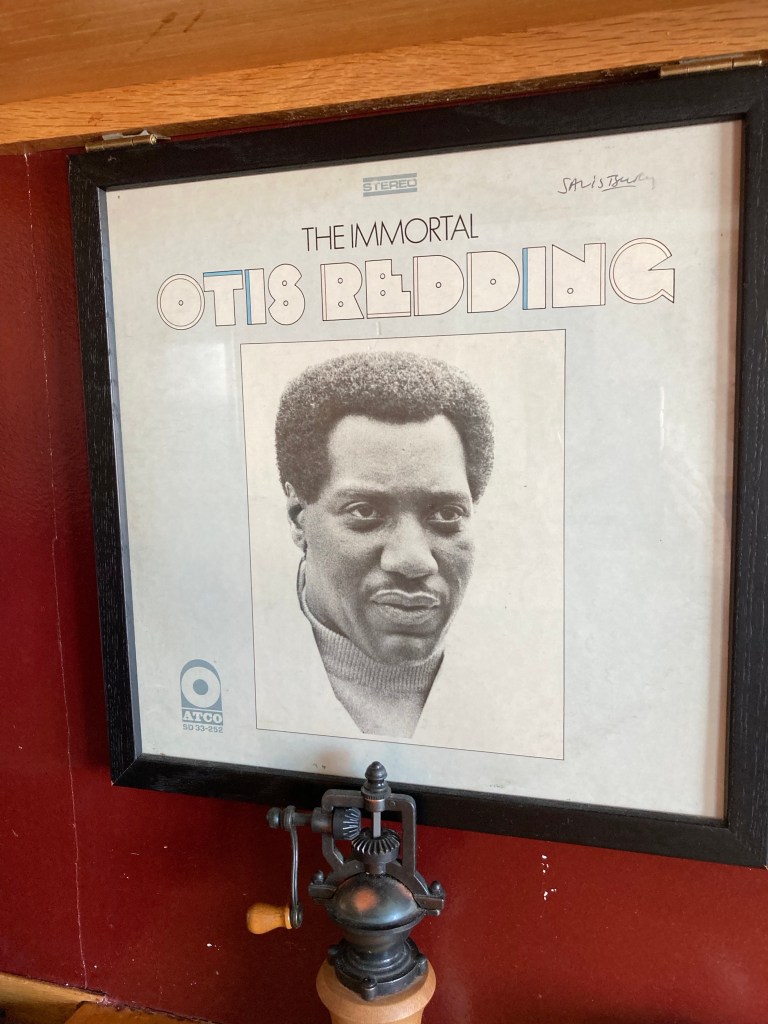
This is the same area where Otis Redding wrote his famous song, “Sittin’ by the Dock of the Bay”.
Our main pattern-fitting focus on this particular trip was to experiment with Ruth Collins’ “Top Down Center Out” pants pattern fitting method which we read about in Threads magazine’s Summer 2022 issue. We also watched numerous YouTube tutorials on the subject before we came, with the most helpful being those produced by The Crooked Hem and JSterns designs.
While we are both petite women, Tina and I are blessed with different body shapes, each with our own unique fitting challenges. With over 100 years of sewing experience collectively and after trying practically every pants pattern fitting method available up to this point, often with varying and frustrating results, we were curious about Ruth Collins’ TDCO philosophy.
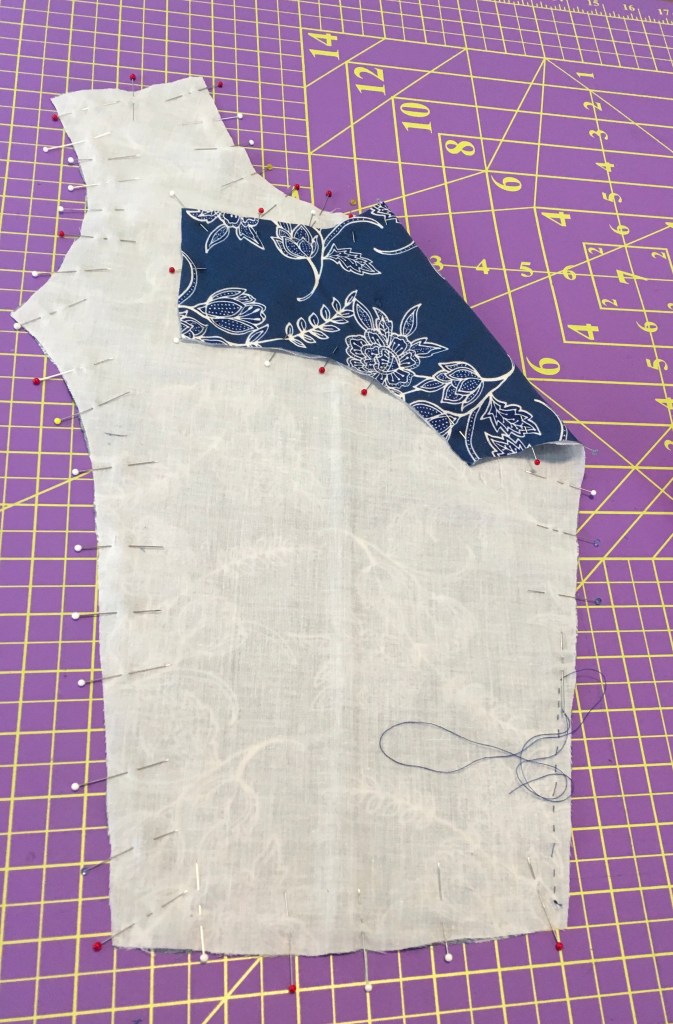
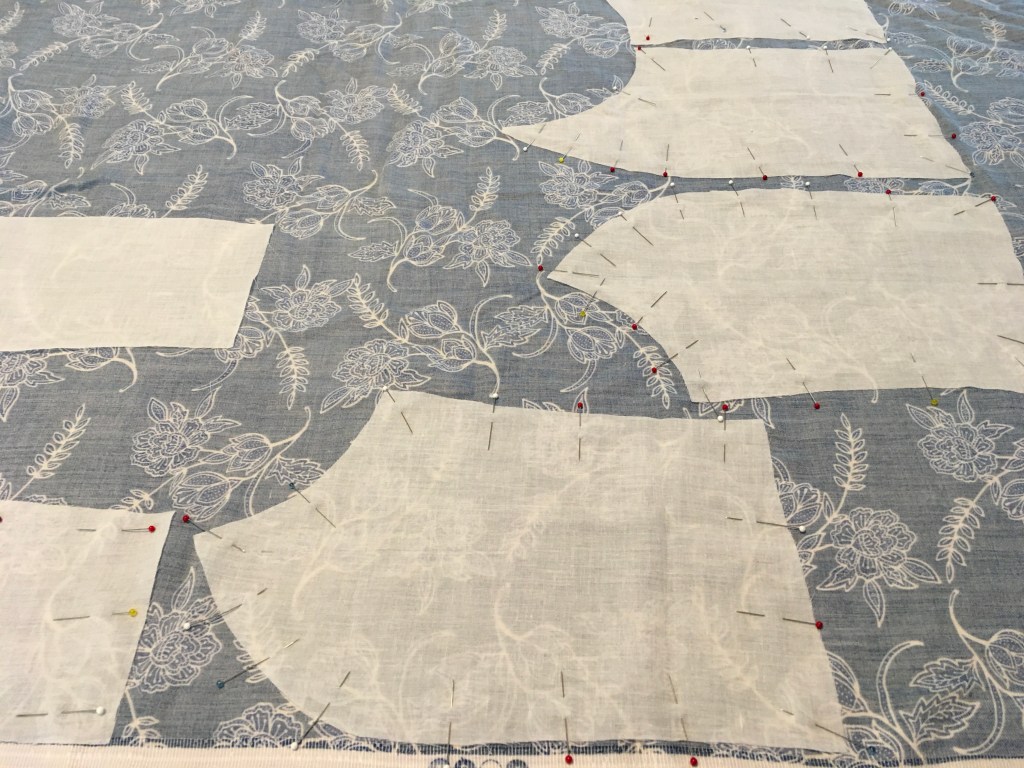
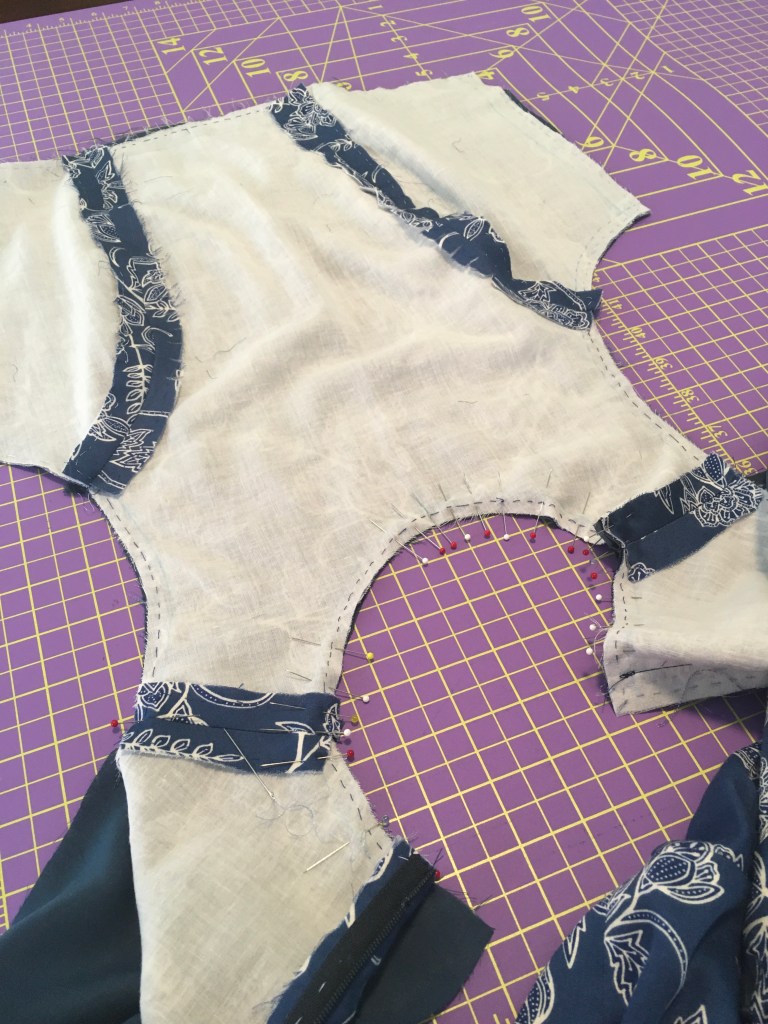
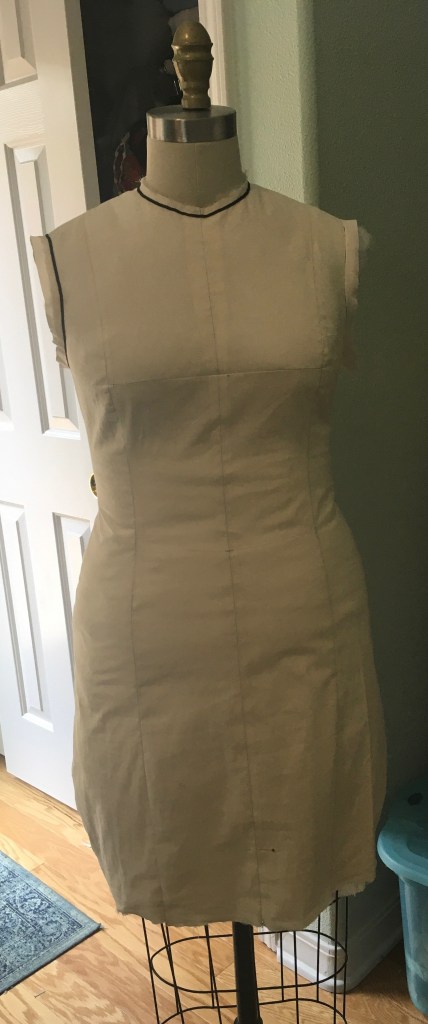
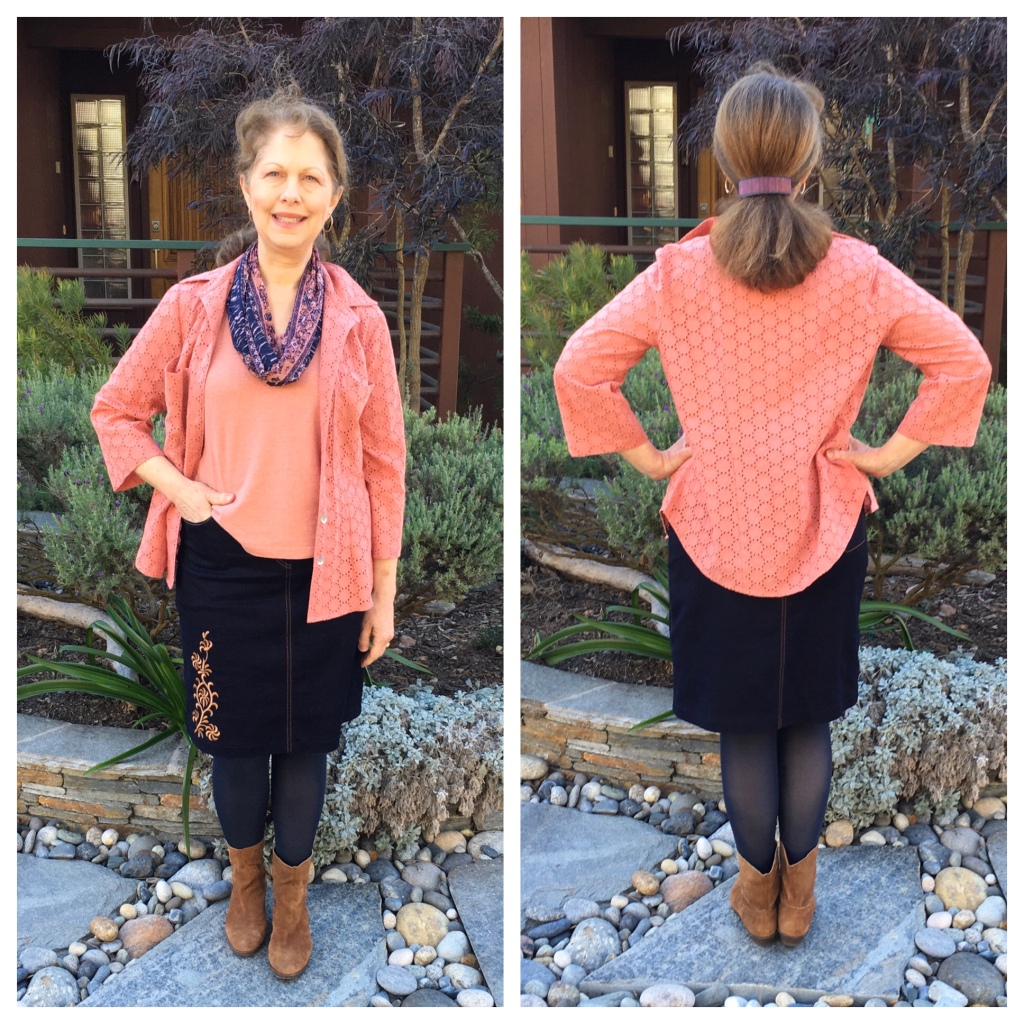
We arrived on the scene with multiple pre-assembled pant “toiles” (muslins) to fit on each other and I’m happy to report that we came away with largely satisfying and successful results. We also learned a lot in the process. My personal takeaway from our first experimental attempts was that while length and circumference measurements are all well and good, each body and hip shape also affect how the overall pant drapes flatteringly. Making the waistband first and adding 3” more to the top of the pant body gave us lots of room for adjustment, not only for the center front and center back lengths and drape but also the sides. Our final assessment from our initial experimentation is that the TDCO fitting process seems much faster, yields more satisfying and immediate results and is ultimately less fussy and time-consuming where pattern alterations are concerned.
As for fabric shopping, we knew we wanted to visit Britex in San Francisco one day and StoneMountain and Daughter in nearby Berkeley on another.
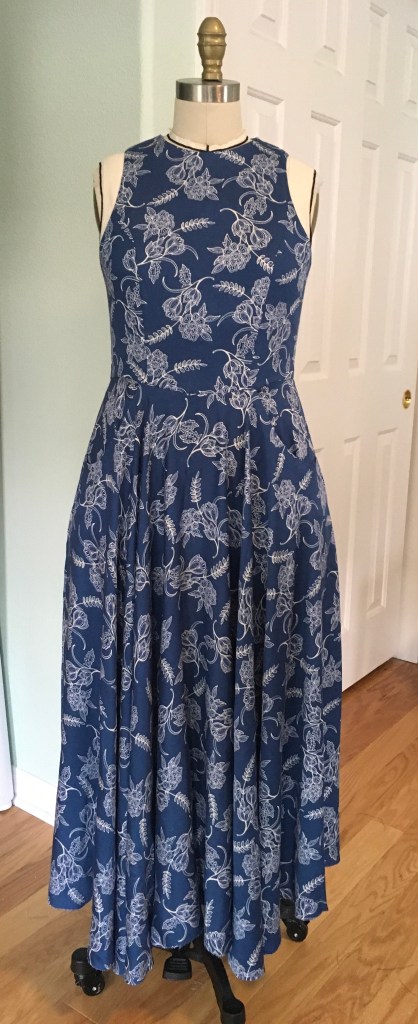
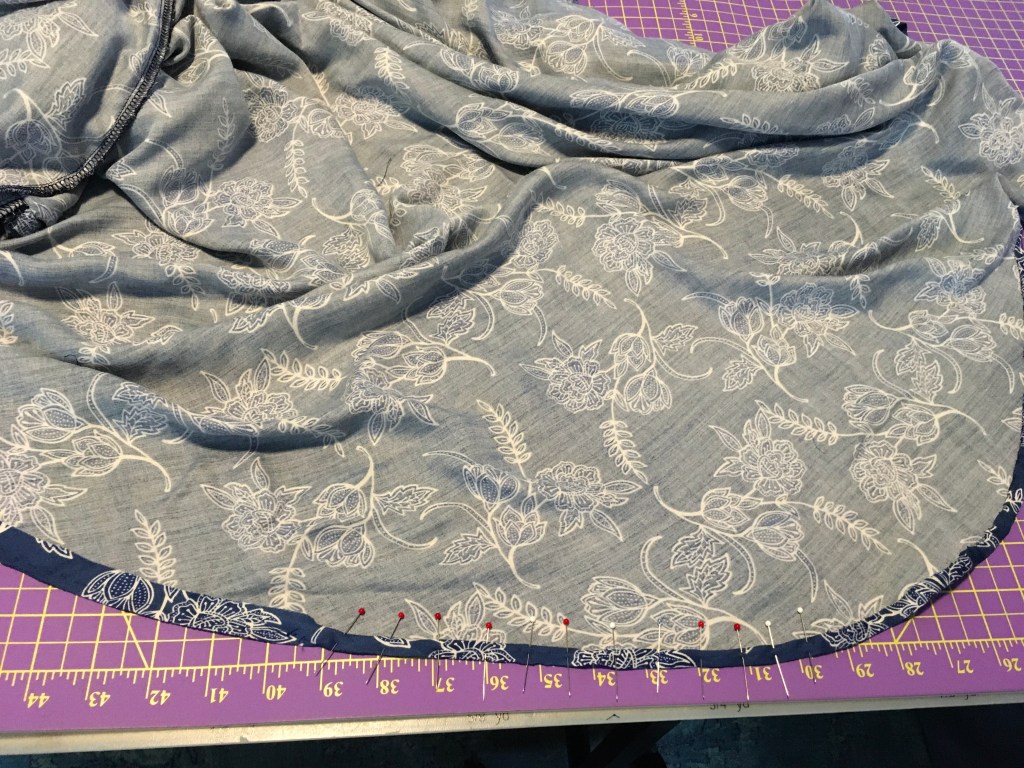
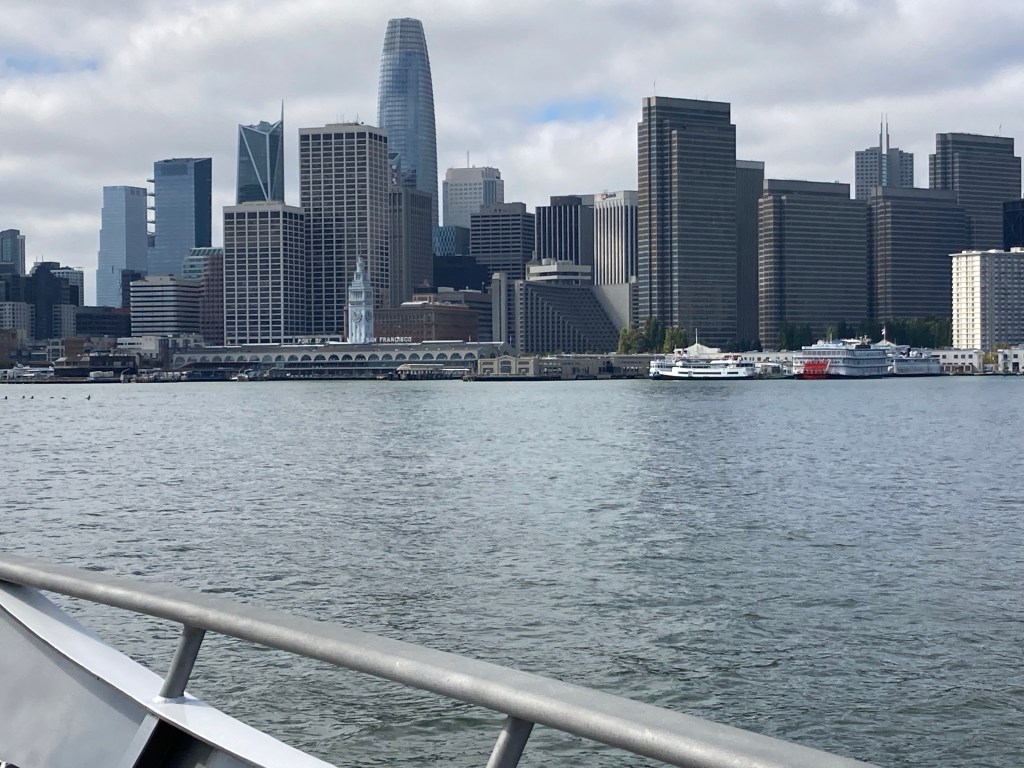
On our first full day we took the Sausalito ferry over to San Francisco where we visited the amazing Britex fabric fantasyland near Union Square. I scored a beautiful silk chiffon print, some Italian denim blue leather (for a jacket) and a piece of beautiful French cotton shirting that day. “Douglas” was our man and his 30+ plus years of experience with all things Britex did not disappoint.


The upper level has even more amazing fabric as well.
Check out the Britex website here:
https://www.britexfabrics.com/
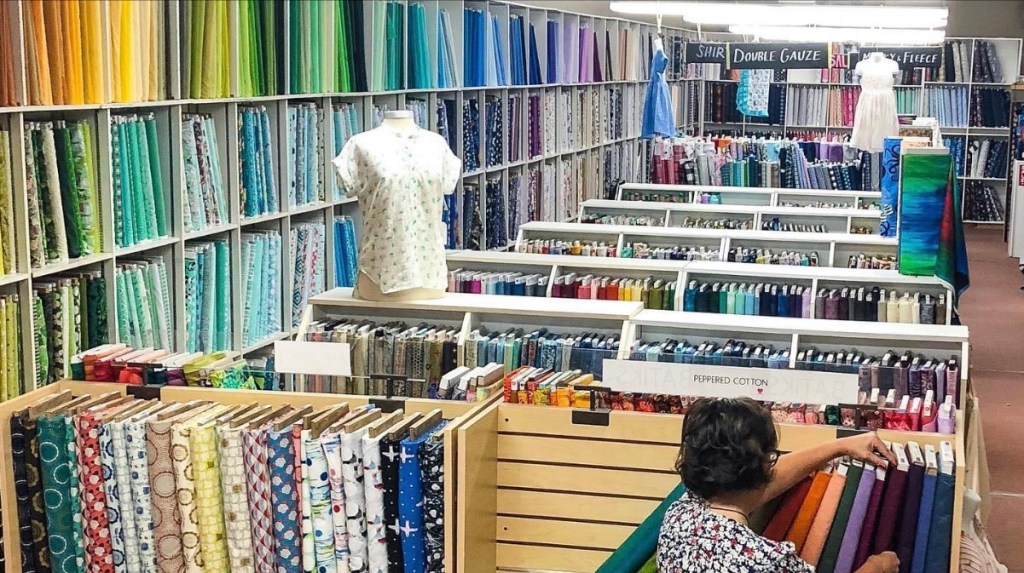
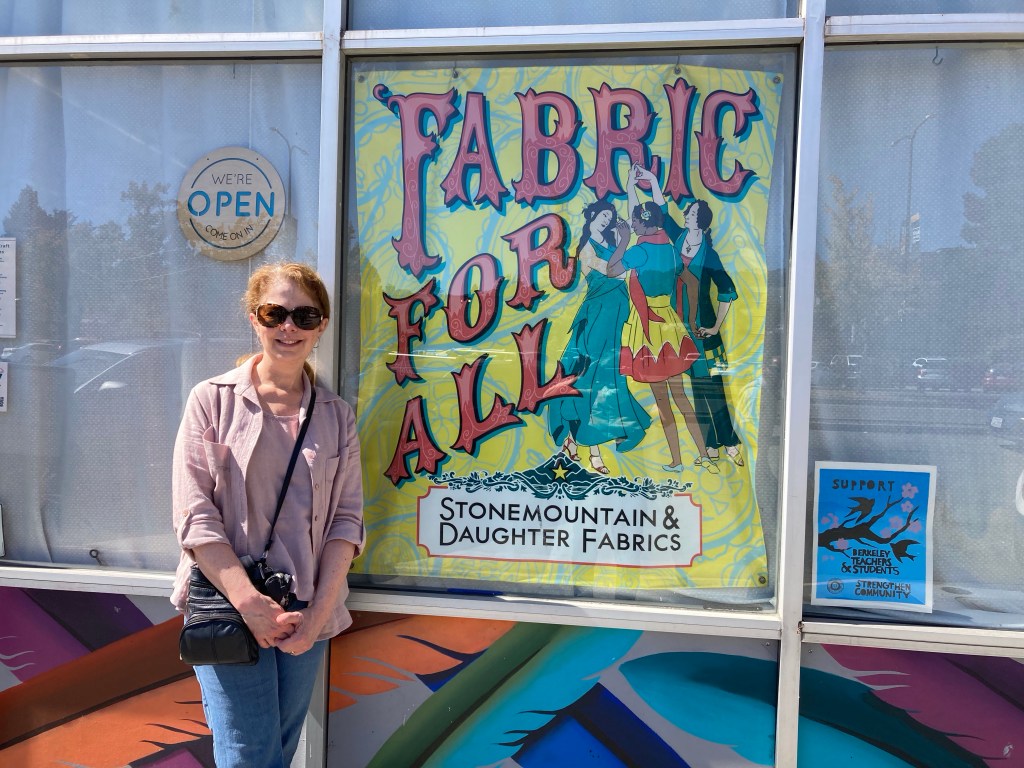
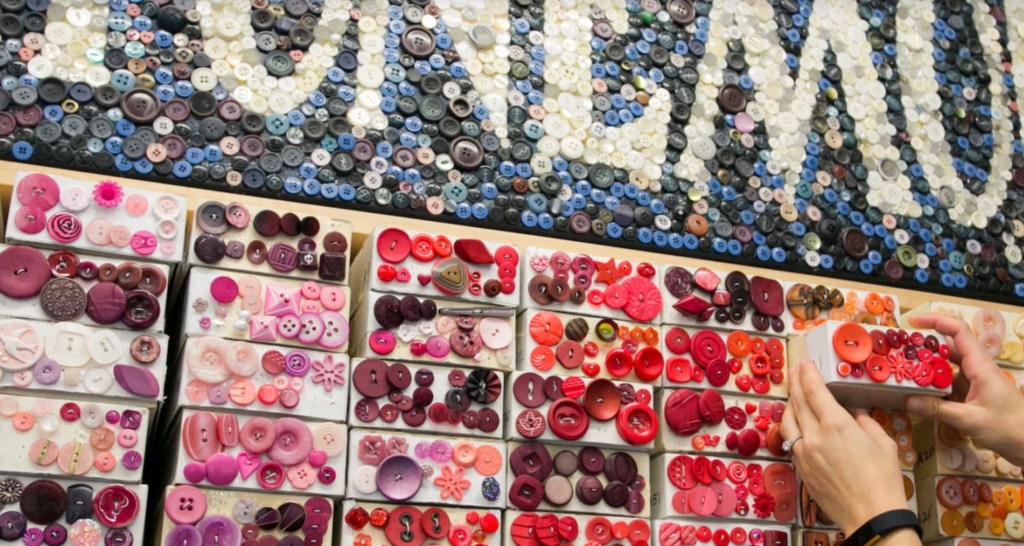
StoneMountain and Daughter Fabric in Berkeley was our destination on day three and it also did not disappoint. We found a huge selection of fabrics there from Japanese indigo, silks, knits, gorgeous cottons of every weight among so many others. Upstairs was the bargain floor with many more treasures to explore. I found some beautiful and unique buttons, an exquisitely soft piece of dusty rose French Terry and a few other high quality solid cotton basics for my stash.
Here is a link:
http://stonemountainfabric.com
Lastly, as a bittersweet post script to my blog entry about Tina’s and my pattern fitting trip to Santa Cruz and Hart’s Fabrics earlier in 2022, I’m sad to report the beautiful wharf, boardwalk and colorful bungalow hotel where we stayed in nearby Capitola sustained significant damage due to the severe and record-breaking storms we’ve experienced here in California in the last couple of months. Hopefully those iconic parts of that charming little seaside town will be able to build back better and stronger when all is said and done, but without a doubt, that particular trip will remain even more special for my friend and I given the community will never be quite as it was when we were last there.